Showing posts with label Tim Holtz. Show all posts

Monday, 14 December 2020

Small Lantern Winter Scene

      A few weeks ago I made a Winter scene using the Large Lantern die set by John Next Door, this time I've made one using the Small Lantern. The standard Small Lantern is about 3.5inches tall when assembled, making it perfect for hanging on the Christmas tree.

     
     This lantern is a little taller than 3.5" because it's been modified to hold an LED tea light in the base.
     I cut the main body in snowfall acetate and cut the bottom off. Then I cut two pieces in white card, both have the base but one has a slightly taller side than the other.
     Both base sections have a small hole cut in them, one for the candle flame to poke through and one for access to the switch on the candle.
     
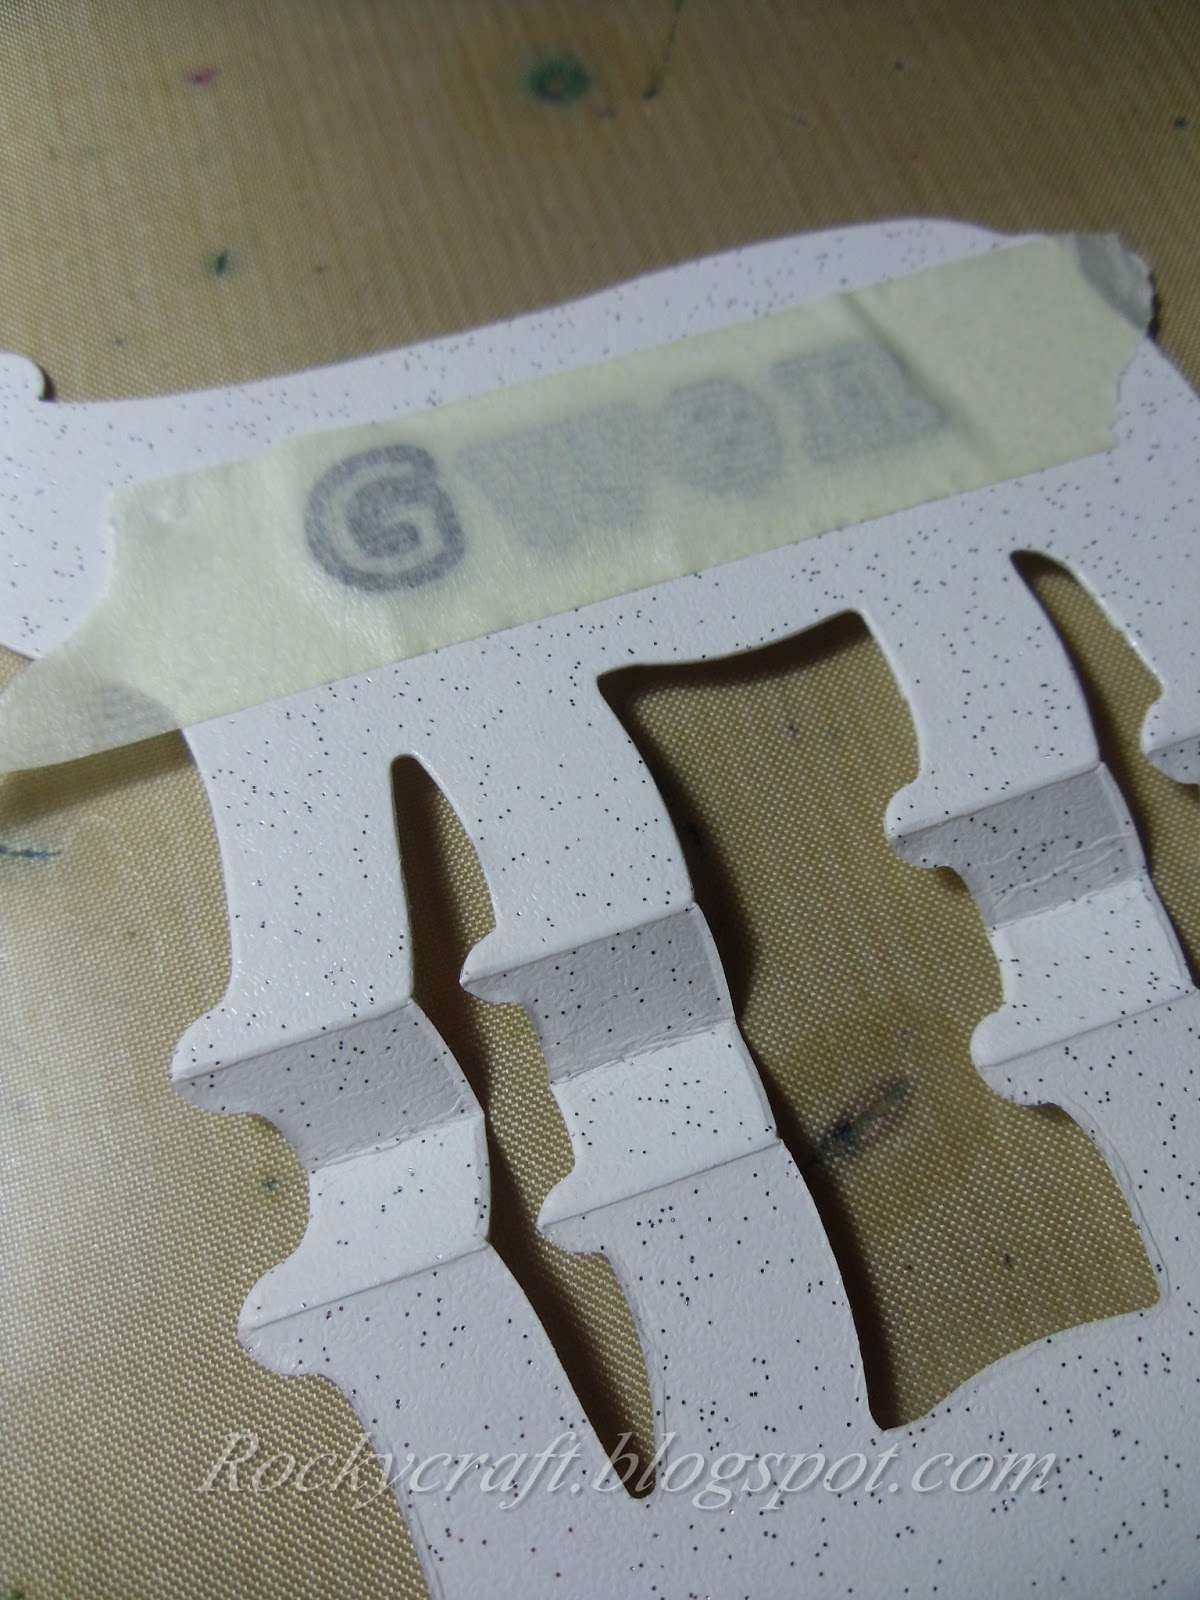
     The acetate was stuck on the inside of the taller base section, then the lantern was assembled. You must use something like redline tape for this, it's the only thing strong enough to hold the construction together.
     The slightly shallower base has the candle stuck inside with the flame poking out, this section will be pushed down into the lantern once decorated.
     The little houses are a Sizzix die by Tim Holtz called Paper Houses, I used the smallest one and cut it down in height to suit.
     I made sure there were plenty of windows in these tiny houses for the light to shine out. The windows then had small pieces of vellum stuck on the inside to mute the glow and make sure you can't see he flame. There is also a small gap cut between the two adjoining houses for the light to pass through
     The rooves are not covered with snow for two reasons...one is I didn't want to mess it up and the second is their insulation is terrible so it's all melted!
     The houses and a tree were stuck onto the base, making sure the flame was inside the buildings, then it was covered with a thin layer of True Snow paste. 
     Once all this was dry and set hard I lowered the base into the lantern, this was sticky as it was a tight fit. I also had to make sure that I got the switch in the right place, over the hole in the bottom of the lantern.
     To finish off I threaded a thin red ribbon through the holes in the top and drew it all together, I left this ribbon long so it can be used to hang the lantern. A few die cut Aster leaves and some tiny pinecones finished off the top and a wide strip of patterned paper around the base completed the project.


I would like to enter this project in the following challenges:
Die Cut Divas - Anything Goes
Allsorts - Christmas
Creative Knockouts - Anything Goes
Krafty Chicks - #537 Christmas
Merry Little Christmas - Anything Christmas     Top Pick

Friday, 11 December 2020

Pick Up A Pine Tree


     Sadly this will be the last challenge at Not Just Cards, it has been running since 2014 but now it's time to hang up the scissors, thank you Helen for the last 6 years. 
     Making Christmas projects is one of my favourite things to do at any time of year, especially when I can make something tailored to the recipient. I have one friend that owns a few WWII American military vehicles and another that owns a haulage firm, so this was a perfect way to make something for them.
     
     I started with the Sizzix Bigz die by Tim Holtz called Old Jalopy and an A5 piece of card folded in half. Either side of the centre fold I added another fold to make a pleat, this was in one of Tim's many demo's, I'm sorry to say I don't know which one.
     When I put the card on the die I made sure that the pleat was just above the cutting edge at the bottom of the wheels, it didn't matter having a flat at this stage as tires would be added later.

     
     I also cut six wing pieces, two in red to match the car and four in black. I stuck two black together and then a red one on top to make them stand out, trying to get foam tape this thin would have been a nightmare!
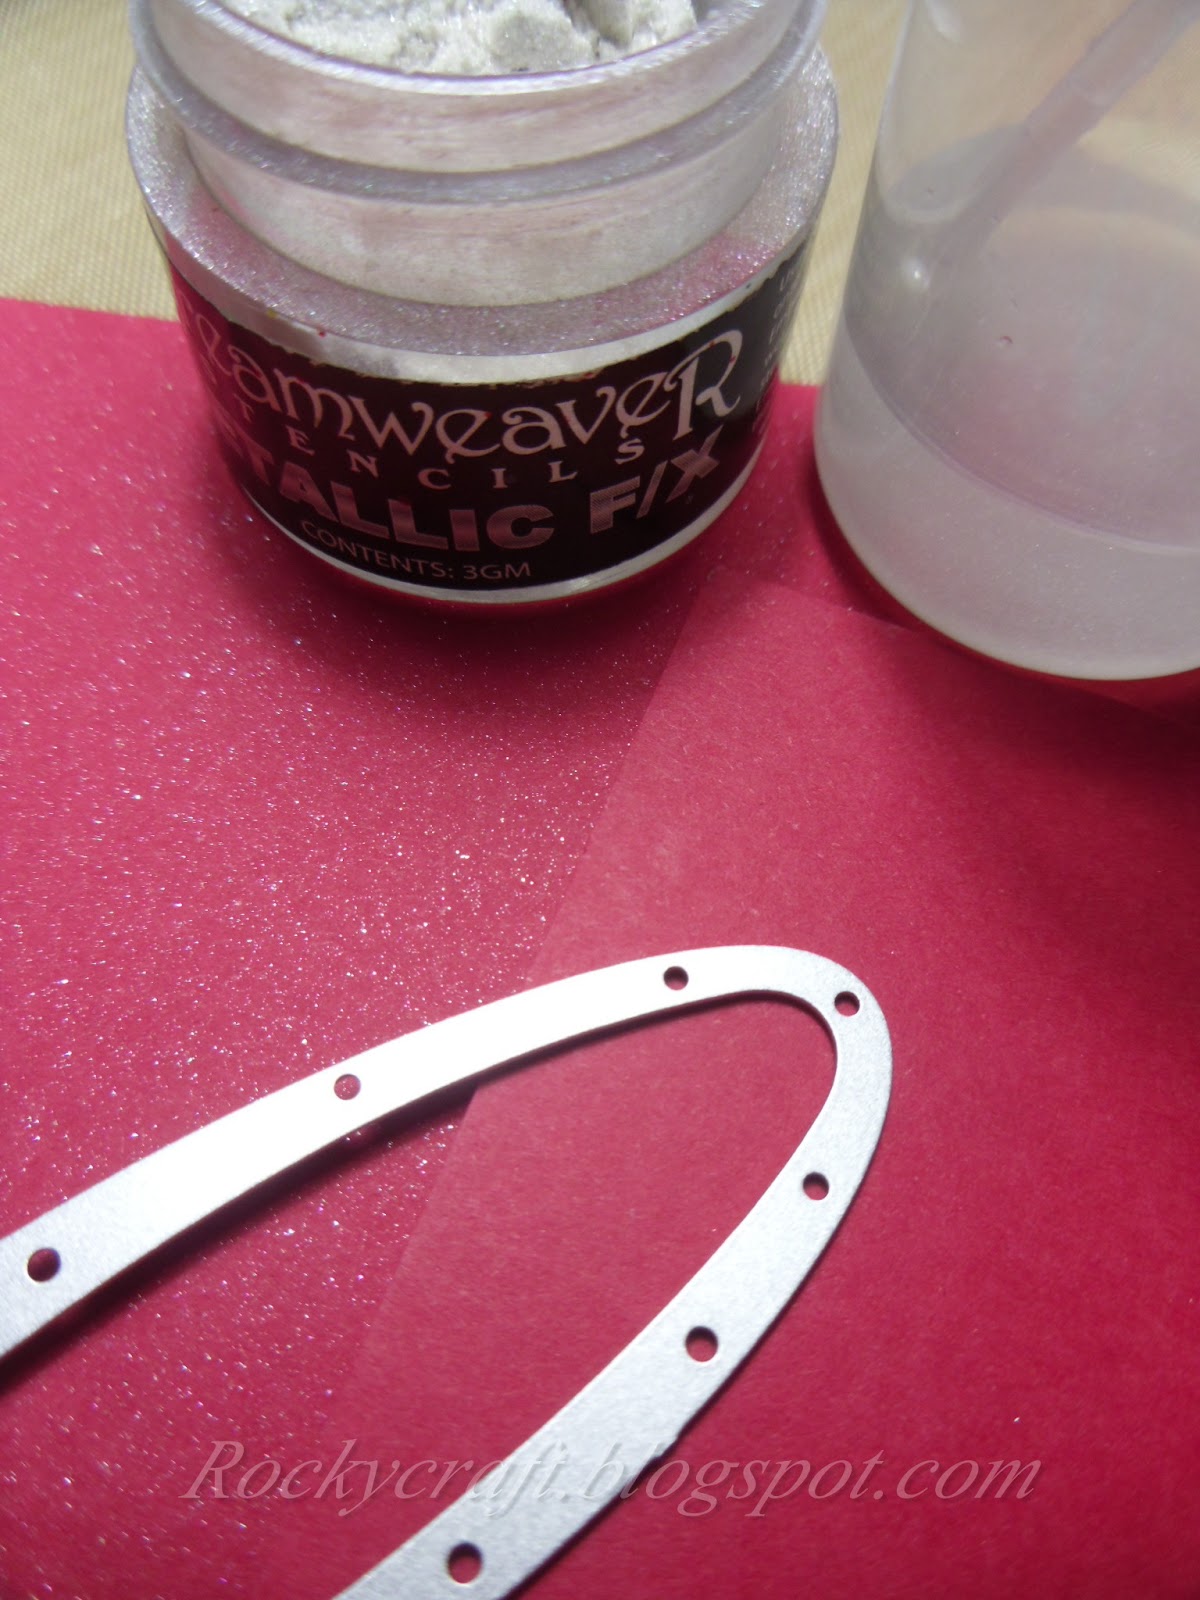
     The hub caps and bumpers were also cut in black card, then they were coloured with silver guilding wax but not with a perfect cover as they are vintage vehicles and need to show wear and tear.....vintage will hide any tiny mishaps too.

     The lower part of the car was cut in black card, this forms the tires and shading under the wings, it was trimmed down to fit below the wings and running board. I cut the back of the car off to make it into a pick up.
      These vehicles are double sided so both sides have been decorated, when gluing the various bits on to the car remember that they will be the other way around on the back.
      The trees are also a TH die, cut in light green card, stuck onto a darker green card and then fussy cut. Again these are double sided so the tree outline on the back had to be stuck on back to front.

     With all the car parts stuck on and the tree loaded in to the back of the pick up it was time to stick both sides together but only at the top. I ran a small line of glue along the bonnet, across the cab and then along the top of the buck.
     If you stick the whole card together it will not stand up, having the ability to open at the bottom helps the pleat become the stand for the pick up.
     To make the military truck I used a suitable green card for almost everything except the tires and added a small white star to the door. Both the red and the military trucks have been aged with a dusting of black Distress Ink.
     For the blue truck I used blue card and silver satin mirri card for the wings, hub caps and bumpers, the Chris Riches fleet are always spotless with gleaming chrome accessories and at night they light up like a Christmas tree. The logo on the door was taken from a photo as my drawing skills were not up to copying it accurately.
     There is little space to write anything as they are not really a card, so I will be adding a small tag to the tree with my Christmas message. I hope that these will come out again next year as a simple decoration, I have kept several stand up items, both commercial and handcrafted, over the years because they have been too nice to throw out.


I would like to enter this project in the following challenges:
Christmas Cards All Year 'Round - Not A Card    Top Pick
Winter Wonderland - Anything Christmas
Merry Little Christmas - Anything Christmas
613 Avenue Create - Anything Goes/optional Vintage
Ike's World - #139 X is for Christmas
Dream Valley - Christmas
Use Your Stuff - Winter/Snow/Christmas
The Paper Funday - Anything Goes/option Christmas

Wednesday, 11 November 2020

Gingerbread Village Light Box


     The theme this month at Christmas Craft Creations is Anything BUT A Card. I love making decorations and with the arrival of the new Paper Village die set by Tim Holtz and an idea I saw on FB, this is what I've come up with.
     
     Believe it or not this whole box and the church was cut from one A4 sheet of brown card, it took a little bit of planning but it means everything matches.
     I used one of the skinny houses to make the tower on the church, if you lay the house die on top of the tiny house cut out you can work out the pitch of the roof so it will fit.
     To make it look like a gingerbread village I used a white gel pen to add decoration all over, though the doors were coloured with a white Sharpie to get better coverage.

    
     A church should have stained glass windows so I used some patterned vellum stuck on the inside of each opening, it was stuck on the wrong way around so the strong colour is on the inside. I cut a hole in the roof so the light could shine through into the tower.
     To get the roof tiles even I used the deckle edge of a piece of card like a ruler. It was all stuck together with a good strong PVA glue which gave me a little wiggle room to get my edges right.

     
     The base of the box was die cut with all the variations available in the die set for windows and doors, I tried to make every house different.
     I used some plain vellum for the windows in the village and decorated it all with the gel pen.
     At first the houses weren't going to have a porch roof but it didn't look quite right so they were all added later.

     The lid of the box had a white cover added to the brown so I only had to colour the edges with the gel pen. There was a hole cut in the lid so the light from the box would shine into the church.
     The church was glued onto the lid but it lacked something......snow!  Using some True Snow paste I added this and it looked so much better, it also hid any gaps around the base of the church that the light might shine through.
     I added a small tree to the scene and buried it in the snow because it had a tiny wooden base that needed to be hidden.

     I wanted a small car to add to the scene, where on earth was I going to find one small enough?...cake topper?...toy car?....Monopoly piece!  Not wanting to use the only Monopoly car I have I decided to make my own silicone mould so I could have a whole fleet of cars.
     Making a mould is quite easy, silicone glue, cornflour, a few drops of baby oil and a spritz of paint for colour. Push the car into the 'dough' and leave overnight to set. Remove the car and then use hot glue in the mould to make many more. The advantage of this is the glue card had a flat bottom, making it easy to stick in the snow. The car was coloured with a mix of Sharpie pens and acrylic paint.    

     
     It was important that the back look just as good as the front so the whole thing has been decorated all the way round to look the same. Even the rear windows of the church are stained glass.
     The light source is a colour changing LED tea light placed in the bottom of the box. I did try a string of tiny LED lights but all together they were too bright, I rather like the changing colours too.
     This Paper Village is so cute, it's going to be used over and over for years, you have been warned!


I would like to enter this project in the following challenges:
Fezziwigs Festive Frolics - Anything BUT A Card    Top pick
Creative Craft Cottage - Christmas/Winter
Country View Crafts - Anything BUT A Card
Dragonfly Dreams - Christmas/Winter
Jingle Belles - Include A see Through Element - windows
ABC Christmas - W - Winter Wonderland/ X - eXtra Special   Top 5


Monday, 12 October 2020

Castle Reveal Card


     Today is the launch of a new die set from John Next Door called the Reveal Card, it has internal sliding doors that reveal the back panel when the front doors are opened.

      The outer cover and the inner sleeve were die cut from grey card to look like stone. To get some texture and increase the stone look I used an embossing folder, but as I didn't want an all over texture I used the open folder and a ball tool so I could be selective on where I embossed.
      For the inner sliding doors I cut from light brown card and stamped woodgrain in a darker brown. I did find with the inner doors I needed to cut a tiny bit off the height to aid sliding, this may be because I fixed the window sleeve a little to tightly, I would suggest you check yours before gluing.

     For the reveal I cut an arched window in the sleeve and added some ivy for a splash of colour and interest.
     The image is a piece of my artwork from a few years ago which I thought went well with the castle theme. I placed the window over the image and held it with clips until I had the image in just the right place, then I stuck the image down.
     The window sleeve was then stuck down in the centre of the back panel. I slid the doors in place and held them together with a small piece of stencil tape while I stuck them in place, this made sure they would still meet when the card was shut.
     For the front cover I used the 3D embossing folder called Quilted Blocks, I though it looked like an old studded door. Using Kraft card and some Distress ink to dirty it up, one embossed piece of card was enough for two door panels.
     For the hinges I used a Sizzix Tim Hiltz die and cut from Kraft card, to make them look a little more metallic I used Distress ink for the rust and gilding wax to look like brass.
     For a castle I thought the doors should have brass studs, so I used a pearl pen from Dutch Doobadoo, it's similar to pearl drops. 

     I was going to cut the hinges off at the edge of the card but they wrapped around to the back and met in the middle so beautifully, so I stuck them down.
     To help my doors slide a little more easily I added a gentle fold down the back, this means that the doors have less tension on the inner sleeve when they move, making it all run more smoothly.
     John has made a video to show how this card is put together which you can see here. For my card I didn't use foam tape, I scored a second fold very close to the first, both top and bottom of the sleeve to make a tiny tunnel for the doors to slide through. 
     I strongly suggest making this up in basic card to get the feel of it before you use your best card. Bear in mind that a textured card may make a difference to the slide of the doors, as will anything raised on the back panel behind the doors, this is speaking from experience!


Materials List
JND170 - Reveal Card die set
PCD304 - Quilted Blocks 3D embossing folder
JND129 - Mini Ivy die
656632 - Sizzix Tim Holtz Hardware Findings  (retired)
S57262 - 3D PVA Glue


I would like to enter this card in the following challenges:
613 Avenue Create - Anything Goes/ optional Winged Things
Challenge Up Your Life - Dragon or Kite     Top 3
Crafter's Castle - Anything Goes
The Fairy and The Unicorn - Anything Fantasy
2 Crafty Critter Crazies - Anything With A Critter
The Dream Factory - How To Train Your Dragon     Top 3

Wednesday, 13 November 2019

Oh Christmas Tree


     Trees are the optional theme for Christmas At Sweet Stampin' this month. I dug a few things from my stash and began to play around with various trees, settling on a traditional looking Christmas tree.
     Inkylicious have a rather nice splatter plate but as I wanted to make smaller cards for posting I managed to get their newer Mini Splatter, great for a 5 inch square.
     Using Distress Oxides Jeans & Spruce I made the background by inking up the plate, then spritzing it with a little water containing pearl mica powder, before stamping it onto my card base.
     Using a Lavinia Christmas tree I stamped it with Versafine Olympia Green.
     I wanted to use a red pearl card to cut the word Christmas but I couldn't find any, so I made my own. Using the small spritz bottle of water with pearl mice added I sprayed my red card very lightly.
     Once dry I cut the word with a Tim Holtz die but as it's rather thin I left it in the die, dabbed the glue on the back of the card and then placed it on the background and gently poked it out of the die. I found this much easier than fighting with it, I also did this with the word Merry, it made sure the spacing was perfect as well.
     This card was so easy to make I decided with time running out that I would batch make, creating my own background means they are not all the same.
     Please pop over to Christmas At Sweet Stampin' to see all the DT inspiration, then come and join us with your project.


I would like to enter this card in the following challenges:
The Holly and Ivy - Anything Christmas
Unicorn - Christmas/Winter
Dragonfly Dreams - Christmas/Winter
CraftyHazelnut's Christmas - Anything Christmas

Sunday, 11 August 2019

Polar Bear Place Card


     A new project for Not Just Cards today, place cards for Christmas Dinner, I have a friend who loves bears so this will be perfect for her.
     Both the tree and the bear were cut using a Sizzix Bigz die, these are steel rule dies that will cut through mountboard and leather so a piece of folded card is no problem at all. You can't do this with thin dies, it will not cut and may ruin your die.
      The card needed to be just over twice the height of the shape I wanted to cut, I then folded it in half, right sides together and creased it. From this centre fold I measured 3/8 of an inch out and scored, doing this on both sides. Once scored I folded the card back to show the right side again, this forms a 'W' shape at the bottom of your card.
   
     When placing the card on the die I had to make sure that the 'W' was just above the base of the cut area so it wasn't chopped off, this made the bears feet a little shallower but at least he will now stand up by himself.
      Before sticking the sided together I die cut the name in the bears body and then backed it with some blue Stardust card, I have kept the cut out letters for another project.
      I have only glued the very top of the bears head and ears together and a tiny spot of glue on his tail too. This leaves a slot in his body that could house a tag listing the menu.

   
      Hopefully you can see in this picture the 'W' in action, it makes your Bigz dies even more useful. They do fold flat for storage until required.
      Both bear and tree have been cut from Stix2 Stardust card as it adds that little sparkle to your table dressing.
     Please pop over to Not Just Cards and take a look at all the inspiration on offer, then come and join us with your creation.


I would like to enter this bear in the following challenges:
C.R.A.F.T. - Christmas
The 12 Months Of Christmas - Sparkle, Glitter & Bling
Crafty Hazelnut's Christmas - Anything Christmas / optional no stamp or digi


Sunday, 6 January 2019

Let It Snow


      After watching Tim Holtz Holiday Hacks I rummaged through my Sizzix Bigz stash and found a snowman and this is what I came up with.
     In his video Tim shows how to fold a piece of card with a 'W' shape at the bottom and die cut it to get the shape to stand up all by itself. If you haven't seen the video then I would recommend taking a look at some of the ideas he shows, this one is very simple but very effective.
     Having cut my white card snowman with a 'W' bottom I then cut another shape in white glitter card to go on the front, in this layer I also cut the words 'Let It snow' with some dies from the 'Holiday Words - thin' set. To make the words show up I backed them with a small piece of light blue pearl paper.
     Once the glitter layer was stuck on the card I trimmed the bottom flush with the card and stuck a black top hat on to finish off. There is just enough room on the back of the snowman to stamp a small greeting and to write a message. I think a few more of these will be made for the Christmas card box, so this year I won't be caught out not having enough come December.


I would like to enter this card in the following challenges:
Winter Wonderland - It's Snowtime
The 12 Months of Christmas - Anything BUT Rectangular
Dies R Us - Anything using Die Cuts

Saturday, 1 December 2018

House Of Cards Blog Hop


     It's sad to think that this will be last card I make for House Of Cards, the challenge is closing this month so please pop over and join us for one last time, we have a blog hop with a prize kindly donated by Beccy's Place.
   
      When I saw the photo prompt I thought this would make a great masculine Christmas card. Having just invested in some more Tim Holtz stencils I was itching to use them, the pattern on the plate made me think of plaid, oh what luck I just bought that one!
      With Distress Ink Black Soot and the Plaid stencil I inked up a square of white card for my background. The stencil only covered half the card but with a bit of careful positioning and some clean masking tape I managed to repeat the pattern so you can't see the join.

     The image I chose to use from Beccy's Place is called Champagne, it has three strawberries in front of the ice bucket, very nice but not quite right, so I die cut some baubles to cover them.
     The image is coloured with watercolour pencils and a touch of metalic pen, the glasses have a slight blue tinge to them that doesn't show up well in the photograph.
     The tiny baubles are part of the Merry greeting, so I used the dark red bauble frame that was left over to hang at the top of the image panel, then filled it with the bauble from the gold greeting cut.
      The image panel was stuck on to a dark red pearl mat layer, the same card used for the baubles, this went on to the plaid background and then the gold greetings were added, with the gold frame bauble filled with red to match the ones at the bottom. I was going to add a fir branch too but I think it's busy enough as it is.
      Please come and play along with our final challenge at House Of Cards, you never know, you may win the prize.

House Of Cards Blog Hop
Make sure you leave a comment at each person's blog along the way because the prize is hidden and we'll be doing a random drawing from the blogs where it is hiding! :) 

You have come from Michele and your next stop is Rosi, good luck.

I would like to enter this card in the following challenges:
Digi Choosday - Anything Goes


Snow blind


     Making Christmas decorations is one of my favourite things to do, so when I found a huge roll of vertical blind fabric and some broken chandelier pendants in a charity shop I thought snowflakes.
      This fabric is amazing stuff, it doesn't fray when cut, you can stamp on it, heat emboss on it and alcohol markers don't bleed when you colour on it. A good thing it's so very versatile when you see the size of the roll!
      Using Tim Holt Sizzix die Layered Snowflake I cut four flakes and embossed them with the folder that accompanies the die.
      Once cut and embossed I used some silver gilding polish to run over the raised areas, this looked good but it lacked something, so out came the iridescent glitter.
     Using some fishing line I threaded it through one of the single round gems and made a loop which was sealed with a crimp bead. Most of the gems have small hooks and loops on them so assembly was easy.
      I glued two of the flakes together on one side to form half of the finished flake. Then I glued the longer end of the fishing line to the centre channel, making certain to have enough to form a finishing loop before cutting it off the reel.
      With the loose end of the line I threaded on a small round gem attached to a drop gem, making a loop through the top of the gem and fixing again with a crimp bead. The end of the line was then stuck inside the channel so there would be no end visible.
      With the gems in place I stuck the remaining flakes to the made half and left it to dry before easing into shape as a three dimensional snowflake. The weight of the glass gems make the flake hang straight and the whole thing sparkles beautifully.
     Over at Altered Eclectics we love to see altered art and recycled projects like this so please pop over and join us with your creations.


I would like to enter this decoration in the following challenges:
CraftyHazelnut's Christmas - Anything Christmas Goes
The Holly and Ivy - Anything Christmas Goes
Scrapy Land - Anything Goes
Fussy and Fancy - Winter/Christmas
Crafty Cardmakers - Anything But A Card


Saturday, 8 September 2018

Tags To Die(cut) For


     At Christmas we need tags and for those special gifts we need special tags, what could be more special than handcrafted tags.
     These tags are pre-cut Kraft tags ready to be decorated and measuring 4.75 x 2.5 inches they are just the right size for some die cuts.
     For the snow I have used the white fabric spray paints, working outside I sprayed from about 18 inches above the tag to get the snowfall effect.   
    The village scene is a new die from Sizzix, cut in Stardust card with D/S sticky sheet on the back, one die cut will fit two tags. The greetings are also Sizzix dies and they are cut from Silver Tinted card stuck down with PVA glue.
     To get the silver edge I used a Stix2 2in1 glue pen, running it along the edge and smudging it with my fingers to make it random. The next step was to go over the edges with silver transfer foil which sticks perfectly to the glue.
     All that remained was to find some ribbon to add a splash of colour to a very neutral tag. These would look good on parcels wrapped in plain brown paper stamped with a very simple tree image and tied up with red and white bakers twine.

Materials list - available from your local craft shop
Stix2 Anything -    Stardust Card - White
                             Tinted Card - Silver
                             Shiny Transfer foil silver
                             Kraft Tags
                             2in1 Glue Pen
                             PVA Glue
                             Fabric Spray - White

Other items -        Sizzix Thinlit Dies - Landscape Border, TH Holiday Words
                             Ribbon


I would like to enter these tags in the following challenges:
Southern Girls - Tag, You're It
ABC Christmas - S for snow/T for teal
The Holly and Ivy - Anything Christmas

Wednesday, 20 December 2017

Have A Very Jelly Christmas


     Now that these gifts have been delivered I can share the pictures. Handmade gifts in handcrafted packaging for three very keen cooks.
      It all started with the Redcurrant jelly, after a bumper crop over the last few years the poor old bush decided to die this year, it will be sadly missed.
     Several of my close friends are very keen cooks so I thought it would be a good idea to give them all a jar of Redcurrant Jelly with a recipe tag for a port sauce.
     Then the quince tree decided to provide so much fruit that I made jelly, jam, lots of crumbles and gave some away too. The fruit is very hard, it has to be cooked to be eaten but is well worth the effort.
     The labels have been made using a digital stamp from MHK Designs, inked and die cut with a double sided sticky backing from Stix2.
     So now I had two jars with pretty die cut paper tops over the traditional cellophane one, both with recipe tags on, to wrap.
     A Kraft gift bag was the perfect solution, but a plain brown bag doesn't look very festive does it. A good reason to break out the Christmas dies and set to.
     All the dies used for the bag front are Sizzix but the tag dies are from other suppliers. Each tag has been edged with brown ink, as well as the cut out stags head and the little splash of red finished them off.
     I just hope the recipients get as much pleasure from the contents as I did  when making them.

I would like to enter my handcrafted gifts and packaging in the following challenges:
Creates and Makes - Anything Goes   (M)
Paper Minutes - Gifts   (W)
Merry Monday - Tic, Tac, Toe (Die cut, Twine, a little Green)   (W)
CraftyHazelnut's Christmas Challenge - Anything Christmas Goes   (M)
The Holly and The Ivy - Anything Christmas Goes   (M)
The Merry Christmas Challenge - Anything Christmas    (W)