My first project for Affordable Crafting is a large MDF tag, there is a pound coin in the photo for scale. My efforts at mixed media are rather tame as I'm a 'less is more' kind of crafter, I struggle with adding lots of layers and bits and bobs, but I'm getting braver.

I hunted high and low for some mustard colour paint I thought I had.....no luck, it's somewhere here I think! So I chose a suitable paper as my base layer, this was stuck to the tag with a good PVA glue, brayered flat and left to dry. Once dry I used an emery board to go around the edges and sand them off.
 Using a honeycomb stamp I added some pattern to the top corner but it was a bit too vague, so out came a stencil to add over the top, still not quite right. To add a stronger colour over the top I used another stamp that reflected the colour in the patterned paper on the opposite corner.....better. A couple of words stamped and embossed in gold lifted the whole look, just that splash of shine made all the difference. To frame the tag I used a Stix2 glue stick, dabbing the glue onto the tag with my finger, then dabbed the glued areas with gold foil, it gives a random distressed look when dabbed by hand.
Next was to hunt through my stash for anything Bee related, stamps, dies and odds. A torn strip of patterned paper added to one corner lifted the colour, then a die cut honeycomb gave it a more Bee related look. Using brown ink I stamped some hives in the other corner and coloured them in with watercolour pencils.

The big bee was stamped on cream card, coloured with the pencils and die cut before being shaped and stuck onto the tag with Glossy Accents, The button had a sting bow added before that too was stuck down with the Glossy Accents.
I had the spotty mustard ribbon ready to add, a piece of the same string was lying on my desk but I couldn't find the right shade of narrow ribbon to pick out the rusty colours, then it dawned on me that I had white organser ribbon, so out came the Promarkers, result. There is also a sting loop in with the ribbons so that the whole thing can be hung up.
Please take a look at the Affordable Crafting website, you will find all manner of things to go with your stash making crafting exactly what they say, 'Affordable'.
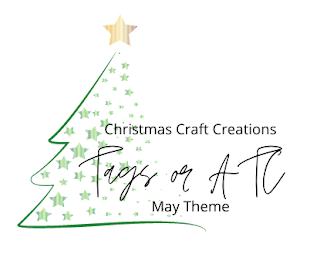
I would like to enter this project in the following challenges:
The Paper Funday - #72 Anything Goes with paper
Creative Fingers - #292 Anything Goes
Pammies Inky Pinkies - #2502 Anything Goes