Thursday 22 August 2019

Two Jays Blue Bauble


     This is my second card using a new stamp by Two Jays - Festive Farm. It's very similar to the kraft card I made earlier but I had a few hiccups with this one.
     For this one I used another bauble die to cut my own stencil, this time a different shape.
     I used the duster brush and a sponge to add white ink to the card and as before stamped the image with the stencil still in place, this was because the image is slightly larger than the bauble shape, using a dark blue ink.
     Once the ink was dry I drew around the inside of the bauble shape with a white pen. Then with the same pen I added accent to the image for the snow.
     I used the same die bow as before but this time in silver, a ribbon bow would be better if the card is to be sent through the post.

     Now this is where I had a hiccup, I die cut a greeting and stuck it on the bottom of the card......it did not go well!
     I removed the greeting but damaged the card in the process. I didn't want to waste the card when it was almost complete but how was I going to get out of this mess.
     The usual remedy for a smudge or mark is to 'stick a butterfly on it', but that wouldn't work for this one.
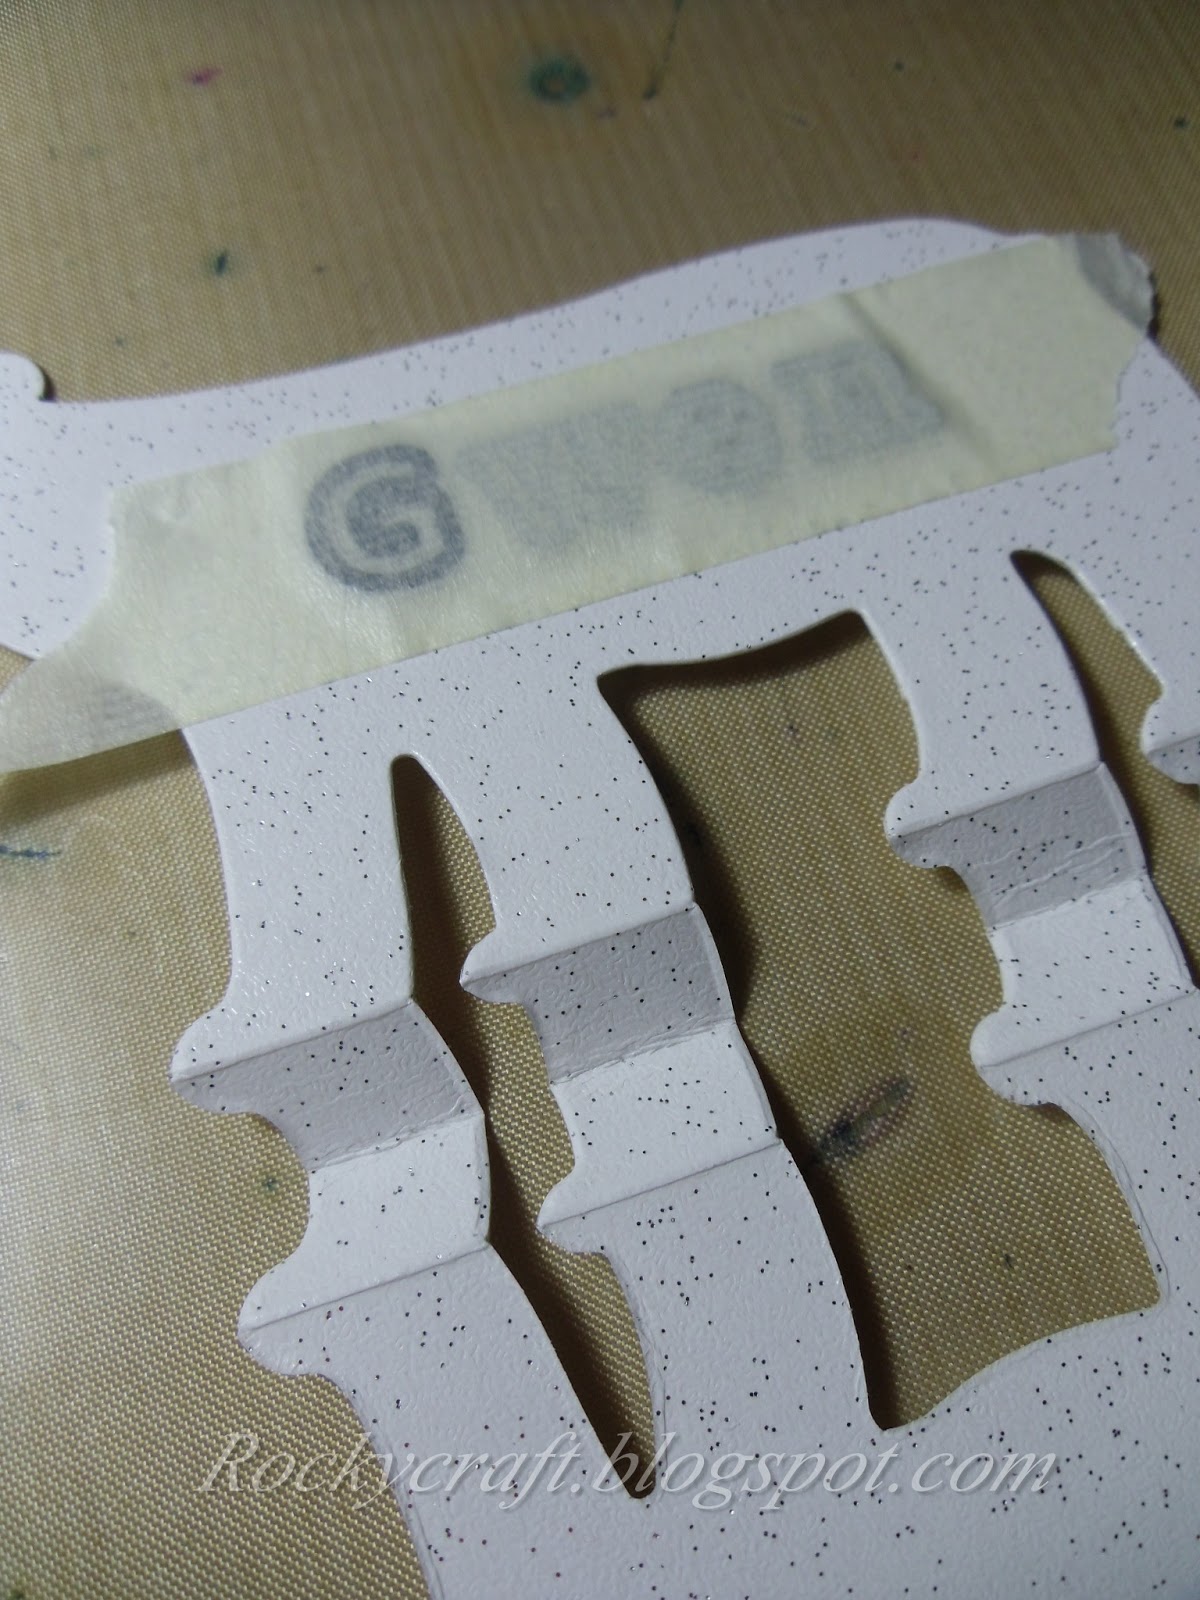
     I die cut a tatty banner in the same dark blue card I had used for layering, it was just the right size to cover the hiccup but I didn't have a stamp small enough to go on it......good thing I've still got a few peel offs in my stash. Mounted on foam pads it goes across the bottom of the card covering the little tear perfectly, the only down side is it does cover the point at the bottom of the bauble......nobody will ever know why!!


I would like to enter this card in the following challenges:
Crimbo Crackers - Anything Christmas
Winter Wonderland - Christmas Ornaments
Cute N' Crafty Christmas - Anything Christmas
Creative Craft Cottage - Christmas


Tuesday 20 August 2019

Baubles....Soon Be Christmas


     This card is made with one of the new stamps by Two Jays- Festive House. I love Kraft card, especially when teamed up with white.
     To begin with I die cut a large bauble in medium weight tracing paper to use as a stencil, I have kept the cut out for another project. One of my crafty friends showed me how to do this technique with slightly smaller stencils but the idea is just the same.
     Using white pigment ink, a duster brush and a make up sponge I added ink to the kraft card through the stencil. I kept the middle a bit darker than the top and bottom. Before removing the stencil I stamped my image in dark brown ink, the image is a little bigger than the bauble so keeping the stencil in place made sure I didn't go over the outside edge.
     The last thing to do before removing the stencil was to go around the inside edge with a white pen to highlight the shape. With the stencil removed I then added white pen to the house, trees and ground to accent the snow.
     Once dry the image panel was matted with white and added to a kraft card blank. With the addition of a white die cut bow at the top and greeting at the bottom it was complete.
     Quite simple and almost totally flat, when posting a ribbon bow may be better, as it will bounce back after opening.


I would like to enter this card in the following challenges:
Winter Wonderland - Christmas Ornaments
CraftyHazelnut's Christmas - Anything Christmas / optional for a female
The Holly and Ivy - Anything Christmas

Wednesday 14 August 2019

Invisible Snowman....Well Almost


   A new challenge at Christmas At Sweet Stampin' brings another snowman, the challenge is for Christmas projects and this months theme of snow people is purely optional.
     I started with a nice white card blank and a die cut paper bow, I discovered that with a small snip and a tiny fold I could get that bow to look like a scarf.
     Some tiny clear gems coloured with a black alcohol pen for his mouth and three small buttons from the tin for his body left me hunting for some wobbly eyes.
      As most crafters do I keep small bits of card for the odd tiny die or snippet needed, so a rummage through the draw and I came out with some pearlescent orange card for a carrot nose.
      Then there was the debate over whether he should be wearing a hat or not, I decided not. One very easy card made from stash bits and bobs, a good one to make with or for a child.
      Please pop over and join us with your Christmas projects, it doesn't have to be a snowman, we'd like to see whatever you make.


I would like to enter Ducky in the following challenges:
Sparkles Christmas - Snowtime
CraftyHazelnut's Christmas - Anything Christmas/ optional-no stamp
      The Holly & Ivy - Anything Christmas

Sunday 11 August 2019

Polar Bear Place Card


     A new project for Not Just Cards today, place cards for Christmas Dinner, I have a friend who loves bears so this will be perfect for her.
     Both the tree and the bear were cut using a Sizzix Bigz die, these are steel rule dies that will cut through mountboard and leather so a piece of folded card is no problem at all. You can't do this with thin dies, it will not cut and may ruin your die.
      The card needed to be just over twice the height of the shape I wanted to cut, I then folded it in half, right sides together and creased it. From this centre fold I measured 3/8 of an inch out and scored, doing this on both sides. Once scored I folded the card back to show the right side again, this forms a 'W' shape at the bottom of your card.
   
     When placing the card on the die I had to make sure that the 'W' was just above the base of the cut area so it wasn't chopped off, this made the bears feet a little shallower but at least he will now stand up by himself.
      Before sticking the sided together I die cut the name in the bears body and then backed it with some blue Stardust card, I have kept the cut out letters for another project.
      I have only glued the very top of the bears head and ears together and a tiny spot of glue on his tail too. This leaves a slot in his body that could house a tag listing the menu.

   
      Hopefully you can see in this picture the 'W' in action, it makes your Bigz dies even more useful. They do fold flat for storage until required.
      Both bear and tree have been cut from Stix2 Stardust card as it adds that little sparkle to your table dressing.
     Please pop over to Not Just Cards and take a look at all the inspiration on offer, then come and join us with your creation.


I would like to enter this bear in the following challenges:
C.R.A.F.T. - Christmas
The 12 Months Of Christmas - Sparkle, Glitter & Bling
Crafty Hazelnut's Christmas - Anything Christmas / optional no stamp or digi


Monday 5 August 2019

Deer Forest


      Wow, I never thought I'd be able to say 'As Seen On TV' but his one was this morning. I'm so happy it made the grade and so grateful for the opportunity to work with John.
      I started by stamping Woodland Deer on a piece of white card using Versafine black. I stamped the image twice, which is easy when using a stamp platform and a clear stamp.
     For this card I needed a 5 1/4 inch square which meant the deer appeared twice, I didn't want that so I covered the second deer with a die cut pine tree before cutting out my square. The only colouring on this was the deer, I tried one fully coloured but it was too busy for a background.
      My box card started as two pieces of white card 5.5 x 10.5 inches long, both scored at 1.5, 2.5, 8 & 9 inches. The front piece has a square window cut in it ready for decoration.
      I stuck the stamped background in the centre of the back panel and creased the panel ready for the die cut trees. Using the Woodland Tree die I cut a panel two cuts wide so it would fit across the centre of the box with spare to glue down. At this point I added a grazing deer from Deer Scenes 2019, coloured dark brown behind the trees.
      The centre tree panel is what holds the card as a square when finished so I had to measure, mark and then glue in place across my creased card.
     The two outer edges of the front card were embossed with a snowflake strip folder, it would look nice if the snowflakes had a little sparkle but I didn't manage it for this one.   
     Before sticking the front panel to the back I glued another tree die cut to the inside of the window and a stag from the Deer Scenes set, again coloured dark brown.
     I then glued front to back making sure to keep the box shape, this card will fold flat for posting but you have to be mindful of any decoration that sticks out beyond the edges, like the snowflake on this one. I used a corner chomper to round off the outer corners.
      There is a small die cut 'Peace' in silver glitter on the bottom left corner and a snowflake on the upper right. This snowflake was made using various die cuts in silver glitter card, white card and white shimmer card, all topped off with a small silver gem.
      There is ample room on the back to add any greeting or message you wish. As there is no mention of Christmas on the front this could be used as a winter decoration year after year.

Materials list 
  JNDC  C021 - Deer Scenes                                
  JND 141 - Woodland Trees      
  CTJJ106 - Woodland Deer

I would like to enter this card in the following challenges:
Crafty Hazelnut's Christmas - Anything Christmas, optional Deer
              My Time To Craft - Christmas In July 
 Crafty Animals - Anything Goes With An Animal
Cute 'N' Crafty Christmas - Anything Christmas/Winter

Saturday 3 August 2019

Light Up Your Christmas


     This project has been so much fun to make for two reasons, one-I love making Christmas items and two-I finally get to spill the beans on why things have been so quiet on here.........I can't tell you how pleased I am to have been asked to make some samples for John Nextdoor. These die sets were released on TV Thursday and the tree die proved to be a firm favourite.
      This die has no end cut so you can make a continuous line of trees, just by cutting and moving it along you can create a whole forest the full length of your cardstock.
      The bottle I used came from a shop called Flying Tiger, it is plastic which makes it safer for use around little people, and the bottom comes off for you to decorate inside.
       A full sheet of A4 card was slightly short of a perfect fit inside, not being sure of the exact depth I wanted I cut my forest across the middle of the card so it gave me room to play with.
   
      Using the deer set of dies I cut all three strips and coloured my deer brown. I left a tab on the bottom of each animal so I could glue them to the base of the forest, leaving them white means they hardly show when the light is on.
      Some of the deer are facing the opposite way to the way they were cut, as long as both sides are coloured this gives you double the possible poses of your animals.
      So the LED tealight I used inside could not be seen and the glow would be even I used a sheet of thick vellum and stuck it behind my trees.
      I also wanted falling snow so I used a sheet of acetate sprayed with Stix2 White Fabric Spray and stuck that, once dry, behind the vellum.
      Three layers were a bit harder to curve when putting them in the bottle but as long as you are very careful with the branches it's pretty easy to slide it all in. I didn't glue the forest scene inside the bottle as it sits quite happily against the plastic.
   
     The top of the bottle looked a little empty so I cut John's Ivy Corner die in green card, coloured it with a darker green and a touch of brown, then worked it with a ball tool. The resulting garland had dimension and a slightly mote natural colouring.
     The garland sits quite happily at the top of the bottle, as it's inside some of the leaves tuck over the vellum and this helps hold it in place, so no ugly glue marks to cover.
     All that remained was to cover the neck of the bottle. I'm not big on bows and frills but this was crying out for a bow. I had some hessian in my stash in various widths, you know how it is, you but several types just in case you might need them, well I did need them.
     I wrapped some wide hessian round the neck, then made a bow from the narrower one. I have an old artificial Christmas tree in my greenhouse that comes out each year on the front porch, this now has one small needle set missing!
    The berries were bought a couple of years ago but the cones are real, they are the result of a visit to a country house with lots of different varieties of pine tree and a carrier bag. All items were added to the bottle with hot glue.
     The LED tealight is held to the base with stickytac, I couldn't glue it in place as the switch is on the bottom.

Materials list - dies
  JNDC  C021 - Deer Scenes                               
  JND 141 - Woodland Trees                               
  JND 124 - Ivy Corner                                         


I would like to enter this decoration in the following challenges:
Sparkles Christmas - It's Snowtime
The Holly and Ivy Christmas - Anything Christmas Goes
Crimbo Crackers - Anything Christmas Goes
Cut It Up - Die Cut Critter