Thursday 31 October 2019

Chocolate Pop Box


     Another pop box made with John Next Door's new die, this time a 'Thank You' gift. It started as an idea to hold a cup cake but quickly took shape as a chocolate box.
      The box base is cut in watercolour card, it's a nice thick card with a dappled texture and being off white looked better with the brown embellishments.
     Using the notched square I cut a mid brown shape for all four sides and lid, both inside and out. I kept the gold for inside the box so that there would be more of a wow factor upon opening.
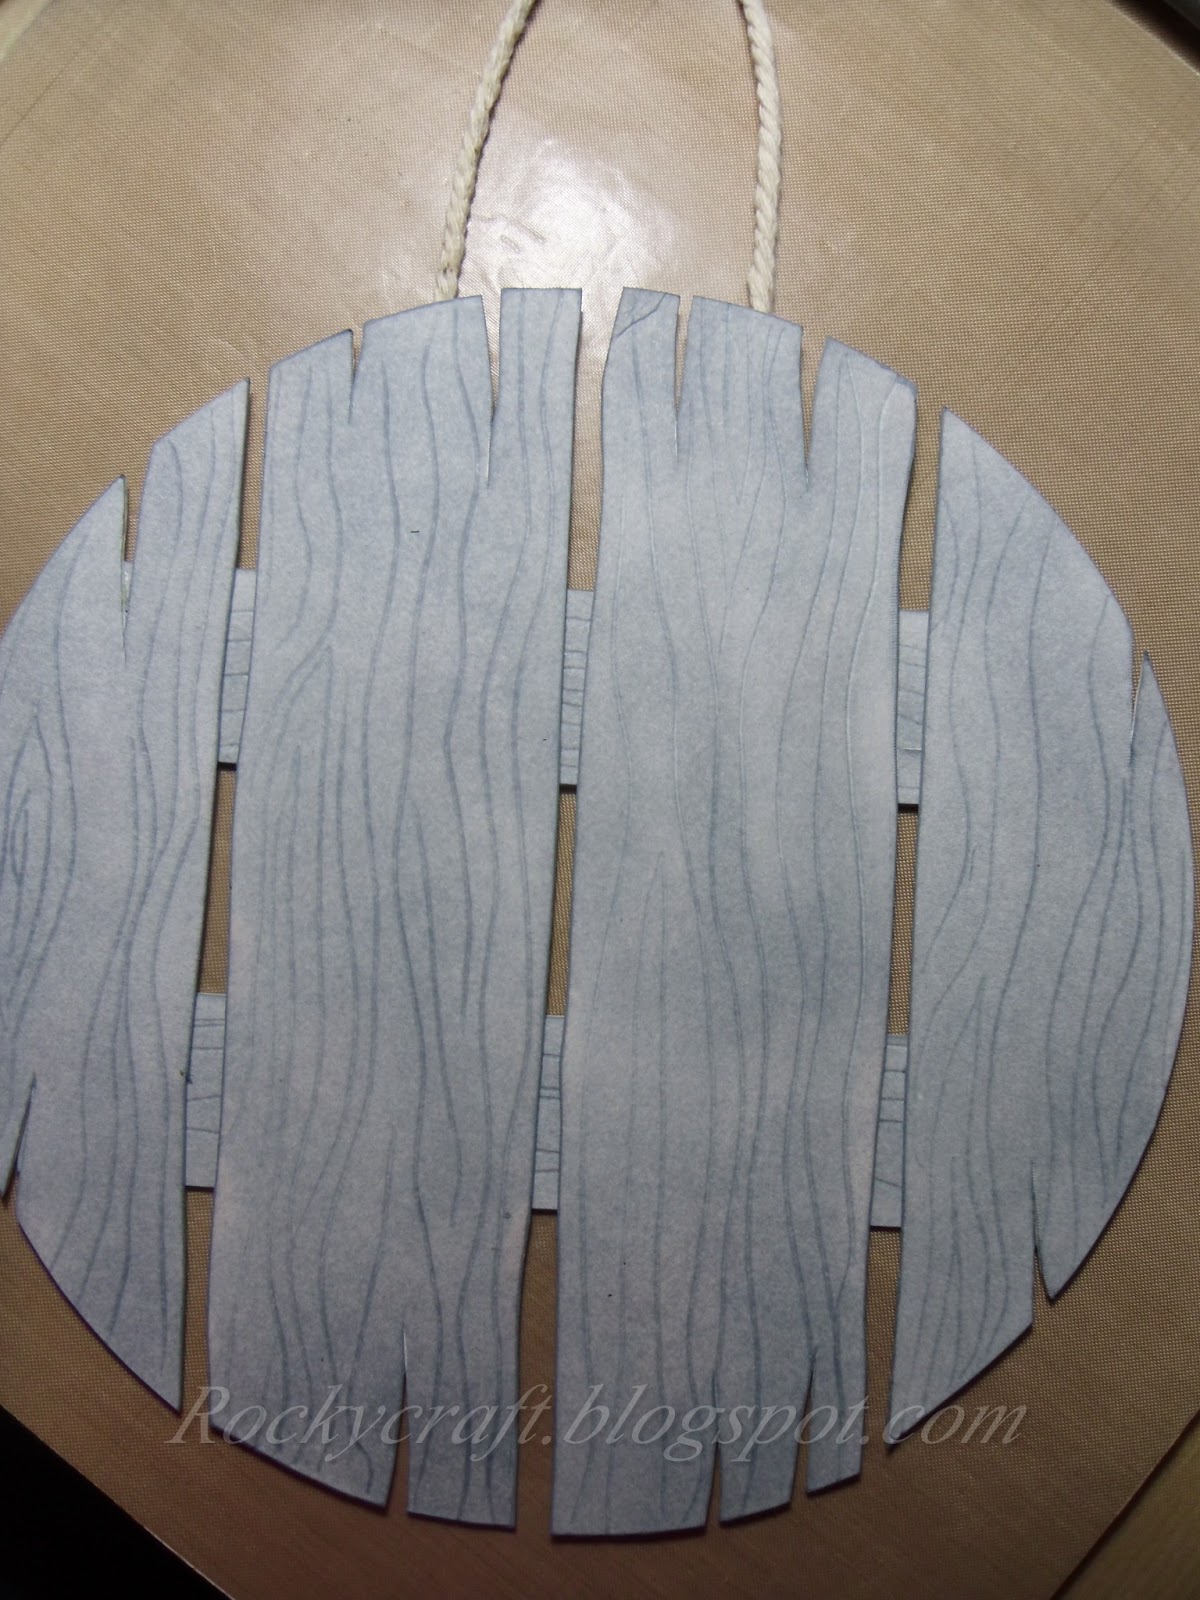
      The swirl pattern is stamped on watercolour card in Memento Rich Cocoa, which went quite well with the brown card. The Thank You inside the lid was cut in dark brown card as was the bow on top of the box.
   
     To decorate the panels inside I used the 'window' die to emboss a piece of dark card and trimmed it to make a chocolate bar, then wrapped it with a little gold foil and chomped a small corner like teeth marks.
     Using the Star Flower I cut several shapes in both shades of brown and gold, layered them up and added a small gold pearl in the centres. They are stuck on the inside panels at random and are different sizes so it doesn't look too uniform.
   
     The 'chocolate' in the middle is made from gold paper die cut with John's Small Lantern, with a bit of snipping and chopping it came out as an imitation Ferrero Rocher. The little case it sits in is a die cut rosette frill and it's all stuck down on a dark brown notched square.
     I did want the chocolate to open but it became far too complicated so I opted for a sealed one, it would make a great card to go along with a box of chocolates though.
   

Materials List    Available from your local craft shop
JND147 - Advent Pop Box
JNDAD001 - Star Flower
JNDCC001 - Small Lantern
S57262 3D PVA Glue


I would like to enter this project in the following challenges:
Simon Says Wednesdays - Anything Goes
Die Cuttin' Divas - Anything Goes
A Place To Start - #1-Pearls, #2-Sentiment, #3-Die, #4-Solid Paper, #5-Flowers
Lemon Shortbread - Anything Goes
Watercooler Wednesdays - Anything Goes

Friday 25 October 2019

Deer Forest Pop Box


     This cute little box is a new die from John Next Door called Pop Box, because when you lift the lid it pops open. The finished box is 2.5 inches square and comes with a huge selection of small dies for decorating inside and out.
     The basic box shape can be cut from an A4 sheet of card, it cuts and scores all in one pass.
     I cut this box from a sheet of double sided card, folded it and then used some ink to blend all the outside edges. The window die is also in the set, this is backed with some snowfall acetate.
     There are silver mirri card deer on the outside, as well as a small snowflake, with a larger snowflake on the lid.
     Inside I used the notched squares to cut my glittering forest and the stags base plate.

    To make the deer stand up I used the tip from Tim Holtz, fold the thin card in a small 'v' shape and cut the 'v' just up from the bottom of the die. This little 'v' gives the deer's legs a tiny flat piece of card so he doesn't fall over, just glue his top half together.
     The inside of the lid is finished off with another snowflake because I love snowflakes. You get two of them with this set but I have to confess I have used some other snowflakes from stash, I do have a few!
     These boxes are great for table decorations, treats and advent boxes. They don't have to be just for Christmas either, with the selection of extras that come in the set you can make them for any occasion


Materials List    Available from your local craft shop
JND147 - Advent Pop Box
JND148 - Advent Numbers   (not used this time)
S57262 - Stix2 3D PVA Glue


I would like to enter this project in the following challenges:
The Holly and Ivy - Anything Christmas
Crimbo Crackers - Anything Christmas
Merry Little Christmas - Anything Christmas
CraftyHazelnut's Patterned Paper - Anything With Patterned Paper

Monday 21 October 2019

Reach For The Stars


     When is a cracker not a cracker?.....when it's a rocket.  John Next Door's new faceted cracker die just lends itself to adaptation, for me it has a more masculine appeal than the usual style cracker.
     Using an A4 sheet of silver mirri card I cut out the cracker. I also cut two small holes in what ends up as the top section of the body, then covered those holes with a small piece of vellum so you can't see the contents when finished.
     To get the pointed top to the rocket I cut out alternate triangles on one end, making sure to turn them into tabs for sticking the top together. I cut one in rough card as a prototype first so I didn't waste my mirri card.
     While the cracker was flat I also coloured the inside of the base red and removed small triangles from the middle of each section to look like the rocket has fins.
      Putting the rocket together was made easier when I put a dab of the Glue Glaze on top of each piece of redline tape I used, it gives a tiny bit of wiggle room and then holds fast. Tape is great but it does eventually perish so by adding glue it will hold for much longer. I started with the top so that I could get my fingers into the point to adjust it as I went round, usually I start in the centre of a cracker but not this time.
     I have a small globe stamp that I then covered with the sentiment embossed in silver, die cut with a circle and then added it to a die cut scalloped circle. A small hole punched through this disc meant I could then add silver elastic cord and add it to the top of the rocket. To seal the bottom part of the cracker I used some silver peel off strips wrapped around twice, this will make it easy to open to get at the gift inside.
     With the rocket assembled I stuffed it with red tissue paper and left a small end sticking out to look like flames as it takes off. These would be great for a children's party, swap the wording for their name or age.


     I love this die, it has so many possibilities, including Sam's pillow box. It will remain a firm favourite at any time of year, afterall, a cracker is not just for Christmas.


Materials List    Available from your local craft shop
JND139 - Faceted Cracker
CAT002 - Glue Glaze
S57085 - Stix2 Ultra Clear Tape 6mm (Redline Tape)  


I would like to enter this project in the following challenges:
Allsorts - Gold and/or Silver
Brown Sugar - Anything Goes
Creative Fingers - Anything Goes
Aud Sentiments - For A Child
C.R.A.F.T. - Box or Bag
Crafting With An Attitude - Anything Goes
Southern Girls - Anything Goes

Friday 11 October 2019

Polar Magic Goes Snowglobal


    This card uses the New Mica Magic two different ways, along with the new Polar Scenes die set and the Snowglobe die set. I have to say that I wasn't very interested in the snow globe die set at first, then one of my crafting friends showed me some of her projects and my head started to pop with ideas, so thank you Avril.  This is also my design piece for Not Just Cards which begins a new month today.
 
     I die cut the scene strips in black and in white card, I wanted to have a highlight type effect. I tried the white on top, then the black on top, the black looked better in a white globe.
    The background was made using the Mica Magic on watercolour card, the card has a texture that gives an almost snowfall look. I worked from the side of the card so the point of origin would be behind the trees, making sure to keep it brighter on the tree side. I added some black to the opposite side to make more of a night sky.
     John showed a technique where he inked the die and then cut the card, so I tried it with an ink called Silver Blue, to me it looks more lilac but as it's metallic it's great for this. I cut the circular frame and the decorative base this way.
     The card is cut with the snowglobe die making sure to leave a hinge at the top, this is covered up with the big circle that the background is on. The base is slightly longer than the full globe so that it stands out in front and looks like a real snowglobe would.
     To get some sparkle on the frame I used the new Craft Artist Glitter Touch clear, having such a small brush it's easy to add little details.
     The flower is made with Craft Artist foam and the Poinsettia die, then coloured with Mica Magic. This creamy mica is gorgeous on foam, it colours beautifully and doesn't rub off like ink does. It's stuck together with Gloss Glaze then finished off with a half pearl coloured with an alcohol marker.
     Please pop over to Not Just Cards and take a look at all the inspiration from both the DT and the challenge entrants, I'm sure you'll find something you'd like to try.


Materials List    Available from your local craft shop
JND143 - Polar Scenes die set
JND123 - Snowglobe die set
CAT004 - Mica Magic Autumn Hues
JNDCC017 - Poinsettia Die
CAT006 - Glitter Touch - Basics
CAT002 - Glue Glaze
CT27829-7 - White Flower Moulding Foam


I would like to enter this card in the following challenges:
The Holly and Ivy - Anything Christmas
Crimbo Crackers - Anything Christmas
Merry Little Christmas - Anything Christmas
C.R.A.F.T. - Christmas
Cute N' Crafty Christmas - Anything Christmas

Wednesday 9 October 2019

Seeing Stars


     Well it's getting closer to Christmas, so if you haven't started making your cards pop over to Christmas at Sweet Stampin' for some inspiration. I chose to go with the optional theme of Stars for my card.
     I started with a 6.75 inch white card blank, then I cut a 5.75 inch gold mirri mat. I wanted the stars to shine through from the mat layer so I cut a dark blue mat and die cut Tim Holtz Swirling Stars into it.
     The scene is John Next Door O Little Town die set cut from Kraft card, I thought this looked a bit like a sandy desert. To add a little light to the scene I inked the edges with white. The beauty of these dies is they are open ended so I could have the scene as wide and as deep as I wanted.
      I stuck the buildings section on to the dark blue and then trimmed it to make sure it was right to the edge. I thought about putting the camel section on foam pads but changed my mind and kept it flat, better for postage I think.
     A gold mirri die cut greeting was all that was needed to finish this one off, inside will be stamped later when I decide who to send it to.
      Christmas At Sweet Stampin' has lots of inspiration for you, whether it's to get started or to keep you going it's worth a look. Come and join us, we'd love to see your creations.


I would like to enter this card in the following challenges:
Christmas Crafts All Year Round - Angels or Nativity
The 12 Months Of Christmas - Anything Christmas/optional Sensational Santa
CraftyHazelnut's Christmas - Anything Christmas/optional Focal Sentiment 
The Holly and Ivy - Anything Christmas
Merry Little Christmas - Anything Christmas

Monday 7 October 2019

Pink Magic


     This is a sample for tonight's show on Hochanda featuring Mica Magic from Craft Artist. John Lockwood will be demonstrating how versatile this colouring medium is for all manner of substrates, not just card.
     For this card I have teamed the new Mica Magic with a new stamp by Two Jays called Spring, as you would imagine there are three more stamps in the set but they can be bought individually.
     I stamped the image twice in grey on white card, I thought black looked a little harsh. Using the Autumn mica set I coloured one image with pinks, I wanted a little green so I used Distress Ink Peeled Paint.
     I cut out the flowers from the second image and coloured them with pink mica, making sure they were a little darker than those on the image panel.
     After colouring the flowers I shaped them with a ball tool and added a small pearl that was coloured with an alcohol marker.
     I found a nice green piece of pearl paper in my stash that went well with the green ink, so that was my first mat layer.
     For the second mat layer I wanted pink but non of the papers I have were a good match, why not use the mica?  I cut a thin white card mat and then edged it with the same pink mica as the image panel, as it was only around the edge it didn't use too much mica and it gave a perfect match.
     Once all the layers were stuck together I added it to a white card blank and glued the cutout flowers in place, it's much easier to mat and layer before adding embellishments.
     All that was left was to add a die cut greeting, I chose silver so it wasn't too bold and kept it flush to the card.
     These mica's are a creamy based medium so they behave a little like a gilding wax, because of that cream base they don't need a fixative like mica powders do.


Materials List    Available from your local craft shop
CAT004 - Mica Magic set AUTUMN
CTJJ108 - Two Jays stamp  SPRING

Stix2 3D PVA glue
Finger Daubers
Distress Ink Peeled Paint


I would like to enter this card in the following challenges:
Addicted To Stamps - For A Lady/Girl
Penny Black and More - Pretty In Pink  For Breast Cancer Awareness Month
Colour Crazy - Anything Colouring Goes
Craft Rocket - Pink
Time Out - Pink For Breast Cancer Awareness Month


Thursday 3 October 2019

Cornflower Wreath


     A wreath isn't just for Christmas and with these gorgeous cornflowers and a couple of poppies it's perfect for Autumn. All the flowers and foliage are die cut with John Next Door dies, you can find a full list at the end.

     I  cut two rings out of a cereal packet and stuck them together, print side in, but I wanted something more substantial to hang up.
     I cut my plaque from mount board using an MDF one I found in the bottom of my stash box.
     It was coloured with Distress Ink Weathered Wood, scored to give a grain effect and then coloured again with the same ink.
    A small length of cord was added to the back to make hanging easy.
   
     The cardboard ring was coloured green with an alcohol marker, then I set about cutting out lots and lots of foliage in various shades of green using thin card.
     All of the foliage was also coloured with Distress Inks to give it shading before working it all with a ball tool.

     I started working my way around the ring adding foliage as I went, working in one direction only and making sure not to make it look symmetrical.
     The Elderflower leaves become a cross between flower and foliage if you colour the tips of the fronds, a bit like Gypsophelia.
     Once all the foliage was stuck down, and there was a lot of it, I left the wreath to dry off completely while I die cut the flowers.
     The Cornflowers are cut in three different shades of blue card, two of them are pearl card. I also cut some extra centres in thin black card to add that extra oomph to them. The poppies are stamped in red on red card, then die cut and coloured around the edge with black ink to tone them down a bit.
     I placed flowers around the ring before I stuck anything down, just to see if it looked alright. Spending a few minutes doing this was well worth it as I moved them around a few times before I was happy. I made sure they weren't uniform in size and position and with such pretty foliage a few gaps looked just fine. The last thing was to stick the ring to the plaque, again making sure the flower positions looked random and off line.
     With a big die cut Thank You in the centre it would make a very nice remembrance wreath, though sadly being card it's not weather proof.


Materials List    Available from your local craft shop
JND115 - Cornflower Die     (Cornflower Stamp JND116 - not used on this project)
JND053 - Blousy Poppy Die
JND054 - Blousy Poppy Stamp
JNDAD016 - Elderflower Dies
JNDAD015 - Rose Leaves Die set
JNDAD002 - Starflower Leaves Die
JND129 - Mini Ivy Leaves Dies
Stix2 3D PVA Glue


I would like to enter this project in the following challenges:
World Wide Open DT - Anything Goes   (JND Design Team for Hochanda)
Classic Design Team Open - Anything Goes   (JND Design Team for Hochanda)
Crafts Galore Encore - Anything Goes
Crafting By Designs - Anything Goes