Tuesday, 22 November 2016

Guest Spot at Through The Craft Room Door


     Last month I was lucky enough to win a challenge at Through The Craft Room Door, along with this went the opportunity to be a Guest Designer for them and a great prize from A Day For Daisies. For my project I was given a Polkadoodles image to work with, they are the sponsors for this weeks Anything Goes challenge.
      I printed the image on white card suitable for alcohol markers and coloured it in using my Graph-It pens and a gold glitter gel pen on the bauble cap. I have covered her eyes with Glossy Accents to make them shine.
     Before mounting the image panel on the gold paper, which luckily matches the gold pen, I die cut some stars in the big white open areas. The white card is stuck flat on to the gold paper before being stuck flat on to the Kraft bag.
     To keep continuity I die cut the greeting from the same gold paper, it was all one diecut but I cut it apart so I could put Merry at the top and Christmas at the bottom, again filling open white areas. With the addition of a red bow on the handle my gift bag is complete and ready for use.
     Through The Craft Room Door is an Anything Goes weekly challenge so that gives you lots of scope for an entry, I hope to see you there.


Materials used
Polkadoodles image - Bauble Wishes, Twiggy & Toots
Kraft bag
White card - suitable for alcohol markers
Graph-It  Alcohol Markers
Glossy Accents
Gold Paper
Merry Christmas Die / Small Star Die
Stix2 Double Sided Tape
Signo Gold Glitter Pen


I would like to enter this gift bag in the following challenges:
Polkadoodles - Anything Goes (optional Not A Card)
CraftyHazelnut's Christmas - Cute / Anything Christmas
The Pencil Case - Anything Goes

Monday, 21 November 2016

MHK Designs Challenge #11


     Welcome to the new challenge at MHK Designs, we have a great photo inspiration for you this month with a selection of pretty muted colours.
     I have used a feather from the new set 'Fanciful Feathers' for my main image. This set will be released in the next few days so keep an eye on MHK Designs Etsy shop.
     The image is printed on white card and coloured with a mixture of pens and pencils. It was then die cut and coloured with Distress Ink around the edges before removing the die, this is a great way to get a white border without adding another layer of card.
     The die cut green layer was white, it has been coloured with the same pen as the feather so it matches perfectly. The base card has been stamped with a leaf design in shades of brown using Distress Ink, then with a waterbrush the leaves have been painted to move the ink around and fill in the leaves.


Fanciful Feathers
November challenge


     If you would like to win a digi set from MHK Designs then all you have to do is play along at MHK Designs challenge blog, you don't have to use one of our designs to enter but we would love it if you did.
     Next month we have some gorgeous new releases to show you with lots of inspiration, this is a sneak peek of just one set so don't forget to pop back in December.

I would like to enter this card in the following challenges:
Crafting With Friends - Anything Goes
Simply Papercraft -Anything Goes

Thursday, 17 November 2016

Heartfelt Blazing Poppies


     Poppies are beautiful flowers that have great significance during November but sometimes get overlooked during the rest of the year. These projects were made with red flowers to be used in shop display at Albright Of Diss but could just as easily be made using any other colour.
      The vase and single flower was stamped on white card, covering the vase with scrap paper the flower spray was stamped over that to create a full bouquet. It looked a little odd at this stage with overstamping but this was covered with a die cut flower later so it wouldn't show. The image is coloured with alcohol pens and then the panel was die cut, as some of the leaves would have been cut off they were trimmed around and tucked outside the dies cutting edge.
     The edge of the image panel has been coloured with Distress Ink Bundled Sage before being mounted on a die cut black layer.
      Another vase was stamped, then over stamped with the fern from a different Heartfelt set and coloured before being cut, shaped and stuck over the original vase.
     The dimensional poppy was stamped and embossed on red card, cut out with the matching die, shaped and then stuck together. This flower is stuck over the main flower in the vase so it hides the overstamping.
     The background is cream card coloured with Distress Ink Pumice Stone, then stamped with a script stamp using the same ink pad. The corner spray is stamped in Memento Rich Cocoa in one corner of the card. Cut to size and corners punched it is then mounted on a thin red layer before going on to a black card.
     
      Using the poppies to make a card is great but what about using them to decorate a gift bag to match the card.
     Using a sheet of Kraft card the poppies are stamped and embossed in the corners, then mounted on a thin red layer of card and stuck on to the bag. I found trying to stamp directly on to the bag wasn't very tidy, when flat the folded in sides and handle ends are lumpy so it's best to work on a sheet of card and add this to the bag.
     Three more stamped and die cut poppies are added to give dimension and match the greeting card.
     With the addition of a die cut greeting the bag is complete and ready for the gift, a little red tissue on top to cover the gift and everything matches.


      I would like to enter these projects in the following challenges:
Creative Moments - Anything Goes
Lemon Shortbread - Anything Goes
Retarte - Anything Goes
Sunny Day Crafting -Anything Goes

Friday, 11 November 2016

MHK Designs - Thank You


     Today's designer inspiration for MHK Designs is a simple make that just had to be a poppy, the sentiment completes it. Here in the UK it is Armistice Day today which we mark by wearing the poppy as a symbol of remembrance, sadly it is not just those lost in WWI that we now remember but all those lost in conflict.
     The backing paper is from World Traveler, printed as a watermark, so that it's faded, and in black and white to achieve a grey look. The letter paper was then over printed with a poppy taken from Perfect Poppies and the sentiment from Thankful Thoughts.
     The poppy is coloured with alcohol markers in shades of red and green, with bronze foil added to the centre to give just a little lift to the design.
     Once finished the paper was stuck on to a black card die cut tag leaving a small border all the way around, with the addition of red ribbon the tag is complete.

World Traveler

Perfect Poppies
Thankful Thoughts


Come and join in with our current challenge at MHK Designs blog and you will have a chance to win a set of digi stamps or you can pop over to the MHK Design Etsy shop and buy now.


I would like to enter this tag in the following challenge:
Ikes World -  #76  Military Tributes

Wednesday, 9 November 2016

Mad Male Room Science


     Our new challenge at The Male Room is science, so anything masculine with a scientific theme would be perfect, cards, layouts or mixed media.
      I found this little scientist as a free digi so I printed him on white card and coloured him in with Graph-It markers. I have added Glossy Accents to his glasses and the flask in his hand. I tried another version with coloured hair but it didn't look right so this gentleman's hair stays white.
     With a white gel pen I wrote two chemical formulae on a rectangle of black card, then using Distress Ink Picket Fence I smudged over the card to make it look like chalk residue. This is stuck flat on to the Kraft car blank with the scientist fussy cut and mounted on foam pads in front of it.
     The greeting is a series of chemical symbols on small white squares used to spell Best Wishes, I tried Happy Birthday but it was very long and didn't look as good.
     It's been an education making this card, something I shall do again I think, chemistry wasn't one of my best subjects at school but it has been fascinating revisiting the subject.
     Come and join us at The Male Room with your masculine science projects, we have lots of inspiration on the blog to help get you started.

The Male Room  #48

I would like to enter this card in the following challenges:
Brown Sugar - Anything Goes
Digital Delights - Anything Goes
Pencil Case - Anything Goes
Digi Stamps 4 Joy - Anything Goes (optional twist Christmas)

Tuesday, 1 November 2016

House Of Cards Fairy Door


     Welcome to a new challenge at the House Of Cards, this month we would like to see lots of layers and/or the colours in the photo prompt shown below.
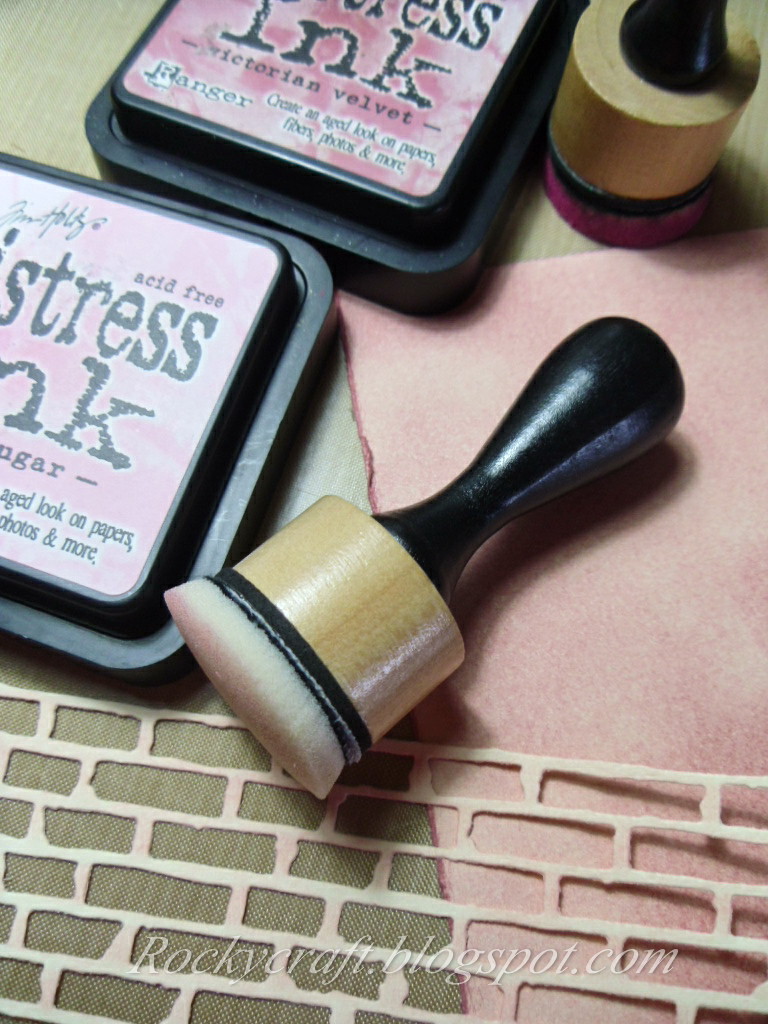
      The brick wall in the picture really got me thinking and I love the greyish shades of pink so I die cut some brickwork and coloured it with Distress Ink, then set about colouring the background wall.
     I have a fairy door die which seemed just right for this so that was cut from kraft card and then coloured with alcohol markers. I put the cut out pieces of the step back in, the keyhole and the heart aswell. Behind the window I have put some acetate coloured black so it shines like glass and covered the heart with glossy accents.
     The tiny flowers are punched from card coloured with markers, gently shaped and stuck on to the vine with tiny gems in the centres.
      The main panel with the brickwork and door is mounted on white card coloured with the same green marker as the vine and the next layer coloured to match the bricks. This is then stuck on to a white card blank coloured with Distress Ink, then water stamped with swirls. Once dry it is then stamped with swirls again but in gold ink to give it a little bit of a lift.
     This card has no sentiment on it, that will be added later when it's use is decided, it would make quite a good New Home card though.
     Below is the photo prompt for House Of Cards so come and join us when your inspiration strikes and show us what you've made.


Lots of Layers and/or colours

I would like to enter this card in the following challenges:
Crafty Boots - In The Pink 

Fan-fare Tail Turkey


     As Altered Eclectics is a mixed media, recycled challenge blog I decided to try making something for the festive season, this would work well for Thanksgiving or Christmas.
     I saw a book folded turkey on Pinterest and though it would be fun to make one, this one turned out a bit big for a table decoration, maybe a smaller book next time.
     This book was rescued from a recycle bin so I have not trashed a perfectly good book, it was going to be pulped, now it has a new lease of life.
     Half the book has been cut away and removed, retaining the hard cover for stability. Each page is folded over to form the front of the turkey.
     The tail is some old music manuscript, again rescued from pulping, rolled in to cones and glued to form a fan shape.
     The base of the tail was a little messy so there is a small semi-circle of music covered card glued on to tidy it all up. The bare spine is also covered with a piece of paper taken from the first page so that it matches the inside cover making it all very neat and tidy.
     The head is traced from a free digi and then mounted on card and tucked into the body. The surrounding hard cover could be decorated with fir cones, leaves, holly, or anything else you wish to use to add a little colour.
     Altered Eclectics is an anything goes challenge, anything BUT a card or ATC, so come over and show us your projects.


I would like to enter Bernard the turkey in the following challenges:
We Love To Create - Anything Goes
Crafty Friends - Anything Goes