Showing posts with label pop up. Show all posts

Monday, 1 May 2017

Pop Up Brusho Flowers


     This card was made using a pop up die from Stampendous. It usually stands up portrait style but I wanted to try it landscape, it still work, especially with flowers and doesn't try to close. With the addition of patterned paper for the background it fits perfectly for our challenge at CraftyHazelnut's Patterned Paper Challenge.
   
      I have several tubs of Brusho and wanted to try the White embossing technique I had seen on Pinterest.
     The image was stamped with Versamark and them embossed with white powder on watercolour card. Brusho were sprinkled over the card and a gentle spritz of water added to make the colour flow. As the images were going to be die cut it didn't matter about over run colour, just that the colours looked good on the images. Once dry all flowers and leaves were die cut ready for assembly.
     The patterned card was cut to size and then using the pop up die the creases and tabs were cut. After cutting it was trimmed to fit an A6 landscape fold card blank, sticking the pop up mechanism inside with care not to stick the tabs down.
     Each flower was added to the tabs to build the bouquet and the leaves were added to the background on foam pads. The addition of one flower to the other side of the card just left the space for a die cut greeting.
     A matted patterned layer on the front with another flower finished the card off, it all folds quite flat so it will post if required.
    Remember CraftyHazelnut's Patterned Paper Challenge runs all month and just requires the use of patterned paper on your project.


I would like to enter this card in the following challenges:
A Gem Of A Challenge - Embossing Wet or Dry
Allsorts - Embossing
Creative Fingers - Anything Goes

Wednesday, 22 March 2017

Spring Has Sprung


     Spring has sprung, the daffodils are up and the birds are busy building their nests so a bright and cheerful spring card seemed the right thing to make, two boxes of flowers exploding will be great for a Mothers Day card.
      I have used lemon gingham card but due to the folds of this card part of the white side will also be visible, so it has been coloured and stamped to co-ordinate with the gingham.
     The two sided are stuck and slotted together and the card bars stuck inside to hold the acetate strips.
     Each box has three card bars and six acetate strips to hold butterflies and flowers, these are attached with red line double sided tape.
      The flower heads were stamped on yellow card, cut out, then decorated with gold foil using the Stix2 glue pen and transfer foils. The secret of this method is patience, just wait for the glue to turn completely clear and the foils will stick.
     Each flower is attached with strong tape, you can vary the height of the flowers by trimming the strips accordingly, I would suggest they all start the same full height and you trim as you go along, this allows for a choice in arrangement of your flowers.
     The butterflies are stamped on a piece of scrap card that was underneath some tags when using the fabric spray paints, nothing goes to waste that way. These paints are designed for fabric but work very well on canvas and card too.
     These have also been given foil highlights, cut out and attached to the acetate strips, there are several different sizes in the stamp set.
     The whole card will fold flat for posting but will need a tall DL envelope so the acetate doesn't get creased.


Materials list - available from your  local craft shop

Stix2 Anything - Lemon Gingham / Intensive Yellow Card 
                        Project Acetate
                        Ultra Clear Tape 6mm
                        Glue Pen 2in1
                        Shiny Transfer foil
                        Fabric Spray Paints

Other Items      FRS639  Tatty Butterflies stamp
                       JGS491 Fancy Flowers
                       Distress Inks Squeezed Lemonade / Mustard Seed
                       Versafine Onyx Black


I would like to enter this card in the following challenges:
heARTful Stamping - Spring & a Stamp
Ooh La La Creations - Spring Is In The Air
Crafting From The Heart - Anything Goes

Wednesday, 1 March 2017

Pop Up Puddy Tats


     CraftyHazelnut's Patterned Paper Challenge sprang to mind as soon as I saw these great new stamps and dies from Stampendous.
     The patterned paper is die cut with two of the pop up tab dies before any decoration or assembly begins. I admit that most of the colouring and die cutting was done for me, so all I had to do was put it together but when faced with such an amazing choice of coloured cats and flowers it wasn't easy!
     The large cat is stuck on the smallest tab, while his friend is stuck to the larger, along with a flower. The large flower is stuck on foam pads and the butterfly only has his body stuck down, leaving his wings free to lift. Finally the whole patterned piece is then stuck on to the inside of the card blank.
     The outside of the card is decorated with die cut cats and sentiment, all cut from satin, silver mirri card. My favourite is the little cat sitting on the sentiment, my cat often sits like this, just waiting to tap your leg with his paw to ask for a fuss.
     CraftyHazelnut's Patterned Paper Challenge is for anything as long as you use patterned papers, so come and join in with your creations.


I would like to enter this card in the following challenges:
The Crazy Challenge - We Love Animals


Wednesday, 16 March 2016

Easter Surprise


     After the last challenge at The Male Room I got carried away with making cards that move, my friend Val showed me how to make this one but you can find a You Tube video for it here.  I've also used the goregous Easter papers  and images from MHK Designs.

     I used a large DL card blank but scored either side of the spine to make it a wider fold, more like a book, so that all the mechanism needed to move the card would fit.
     The bottom of the card has an arch cut out using the bottom of the egg die, this is where the pull tab will sit.
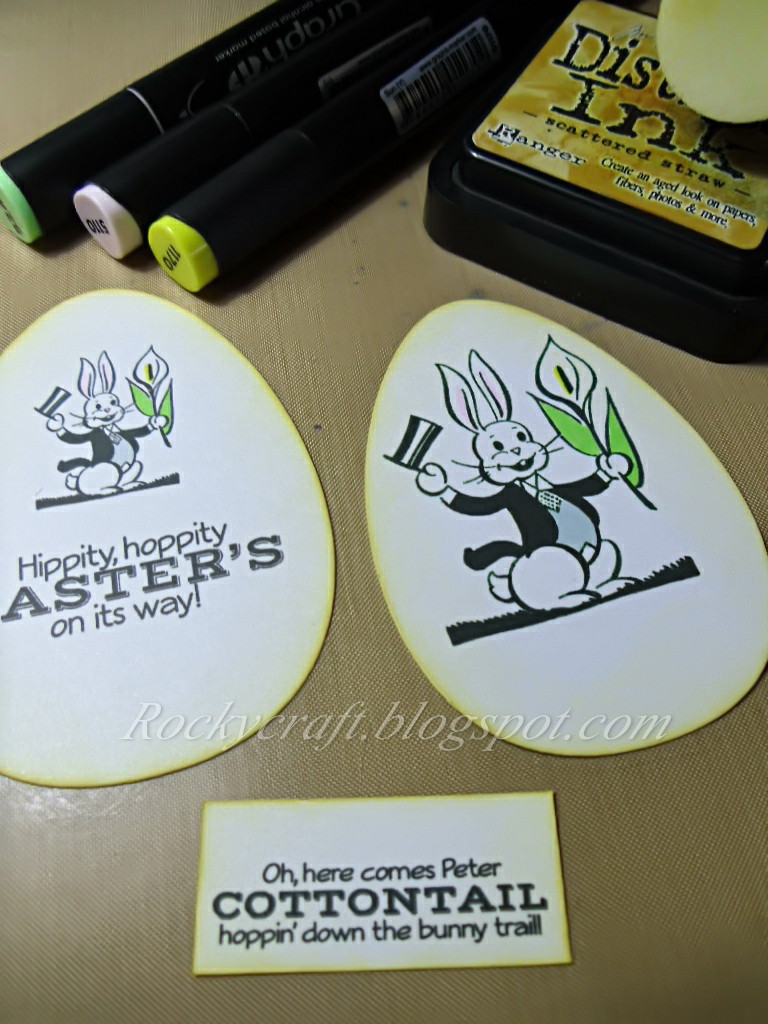
     The bunny images were printed on card suitable for alcohol markers although there is very little colouring involved. Egg shaped dies were used to cut out the images after colouring and then the edges were coloured with a yellow Distress ink.

     When the internal movement cards were added to the ribbon slide mechanism it was important to line them up as they would be when the card is closed. I used some wide satin ribbon as that is what I had to hand, wide florist ribbon works just as well.
     The outside of the card blank is covered with Easter paper from MHK Designs, the pull tab also has some of this paper on it.
     Double sided foam tape is added to both sides of the inner frame around which the ribbon mechanism sits. This tape allows depth for the free movement of the slider so make sure it sits comfortably inside the card and moves freely before you stick it shut, how do I know this is important?....don't ask, let's just say we all learn by trial and error!


So this fortnights challenge at The Male Room is an Easter project for a man or boy, I do hope you'll join us with your creation.


I would like to enter this card in the following challenges:
Cuttlebug Mania - Easter
Deep Ocean Challenges - Easter
Crafty Boots - Easter
Where The Heart Is - Easter
Great Impressions - Bunny Hop
Robyns Fetish - Easter Cards
Craftin' Desert Divas - Photo Inspiration


Wednesday, 2 March 2016

Pop Up Postcard


     Welcome to the new challenge project for The Male Room. This fortnight we are looking for  cards that move, they can pop up, slide, twist or fall. We have some tutorial videos to help you get started.  
       This card pops up when gently pulled sideways. There are two parts, front and back, folded at one end only. Inside is a tab of card hinged on one corner, that will pop up as the card is opened out flat.
     The outside of the card is decorated with washi tape and various travel ephemera from several sources. There is a small panel on the back to write a message on.This would make a great card to announce a special surprise holiday, all you need do is change the New York postcard for your chosen destination.


I would like to enter this card in the following challenges:
Sparkles Monthly - Something For The Males
Crafty Gals Corner - All About The Boys
Inspiration Destination - Anything Goes