Wednesday, 2 February 2022

Paper Funday Hugs and Kisses


     A new challenge begins today at The Paper Funday, it's anything goes but I have chosen to follow the optional twist of Hugs and Kisses.
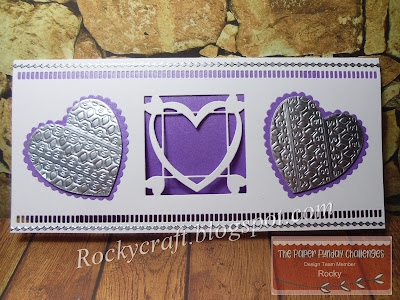
     This is made with a mix of old and newish dies from John Next Door. The old die is the cut out heart in the middle, it's from a set that goes well with the pop out box. This has been cut into the front of a DL card blank so that the purple card behind can be seen.
     The newer dies are the strip dies used to make the edging at top and bottom of the card and the embossing on the silver satin card. To use dies as embossing templates is easy and it gives them yet another use. Place a silicon embossing mat under the card you wish to emboss, place the die on the card and run through the machine, you will need to adjust your 'sandwich' - for my machine I use two pieces of card from a cereal box with my clear plates, leaving out the 1 & 2 shims.
     Each silver heart has a scalloped edge purple heart underneath to tie it in with the card liner. It looked a little bare so I used some silver peel off borders to bring in a little more silver, I have lots of peel offs in my stash so it's time to use\them up. I don't feel it's cheating, I know if I tried to stamp a long border like that it would fine until the last bit so at least this way it looks even.
     The Paper Funday has lots of inspiration for you so please pop over and take a look, then come and join us with your creation.


I would like to enter this card in the following challenges:
Shopping Our Stash - #463 Heart and/or beets
International Art & Soul - #126 All About Love/Hearts
Use Your Stuff - #440 Embossing

Saturday, 15 January 2022

Rainbow Frame


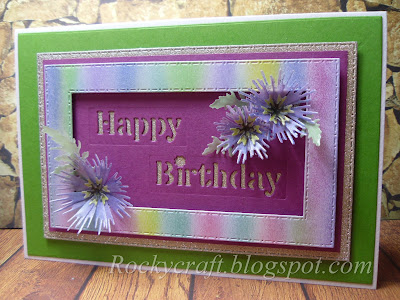
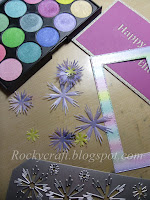
     This card was made using the cut out frame left over from the card in the last post. If you haven't seen it then this was white card that has been coloured with the new Mica Magic Spring set from John Next Door.
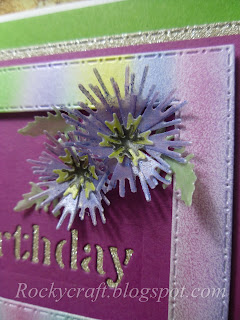
     Mica Magic doesn't just colour card, it will work on many different surfaces, including vellum. The flowers were cut in vellum using the Cornflower die set and the corresponding leaves. Both flowers and leaves were coloured with the mica, for a stronger colour work on the front and for a paler colour work on the back of the vellum.
     To mount up on a white card blank I used some bright green card that was a close match to one of the mica colours. On top of this I used some pink Craft Artist glitter card covered with a die cut layer of a sort of squashed berry colour, again similar to one of the mica colours used. The berry and glitter layer was mounted on 1mm foam while the rainbow frame was mounted on 2mm foam tape over the berry card leaving a border showing.
     Once the frame was in place I was able to add the flowers and leaves to pop out from within the frame, filling in the open areas on the berry card.
     This card has used up some offcuts and a few new bits, it's a good way to make great use of what you've already got on your work bench from previous projects.


I would like to enter this card in the following challenges:
C.R.A.F.T. - #623 New
Watercooler Wednesday - #332 All Things Feminine 
Try It On Tuesday - In With The New
Cut It Up - #243 Anything Goes
Creative Fingers - #222 Anything Goes

Monday, 10 January 2022

Rainbow Mica Magic


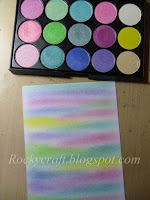
     If you haven't worked with mica before then give it a try, this is Mica Magic, it comes in cake form rather than powder but can be used in the same way. This mica has a binding agent in it already which makes it a little creamy in texture, but it will still dust onto a project just like a powder.
     
     This pallet is the new Spring set from John Next Door, a selection of gorgeous Spring colours.
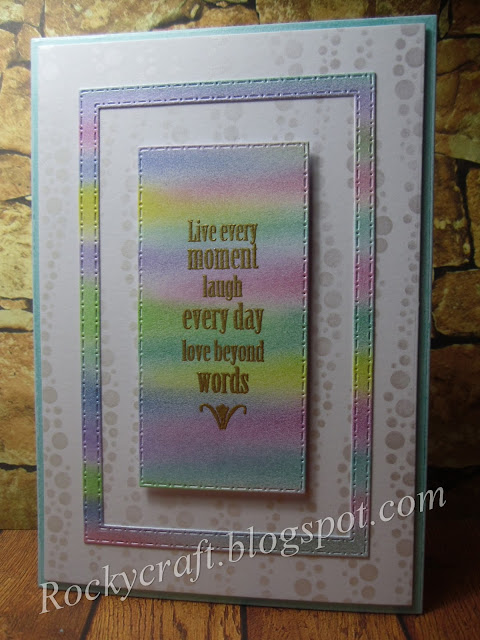
     To begin this card I coloured an A6 piece of white card with the mica, just using my finger to paint it on in stripes. Once I'd covered the card I left it for a few minutes, then buffed it wish a soft cloth, this brings up the shine of the mica and because of the binding agent it doesn't rub off the card.
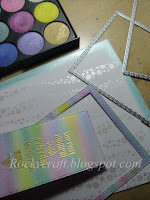
     With some of the rectangle dies I cut two frames and a panel from the rainbow card. For this card I only wanted the panel and the outer frame, I have used the inner frame for another project so nothing was wasted.
     To make the background I used a stencil on white card and the white pearl mica from the set, this gives some pattern but doesn't complicate the colours.
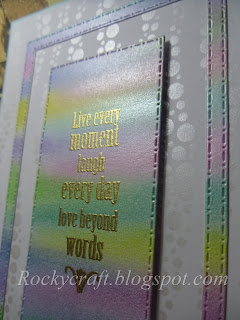
     The amazing thing about Mica Magic is you can stamp and emboss over it without having to use specialised ink, I used a Versamark ink pad and detail embossing powder.
     The card blank has been coloured blue around the edge, then the white patterned background was mounted on 1mm foam. The frame was mounted flush to the white background with the sentiment panel went on 2mm foam in the centre.
     I always loved working with mica powders but Mica Magic is so much easier to use as it's less messy, there is no dust floating around when you use it and you still get that great shine.


I would like to enter this card in the following challenges:
Dream Valley - #261 Anything New
Allsorts - #658 Anything Goes / option~New     Top 5
Stamping Sensations - Anything Stamped Goes / option~add a die
Let's Craft and Create - # 179 Anything Goes / option~New


Wednesday, 5 January 2022

Winter Wonderland


     As we're still in Winter in the northern hemisphere the new challenge twist at The Paper Funday is Winter Landscapes. A Winter birthday or getting ahead for Christmas, this card could be either, a sentiment will be added later.
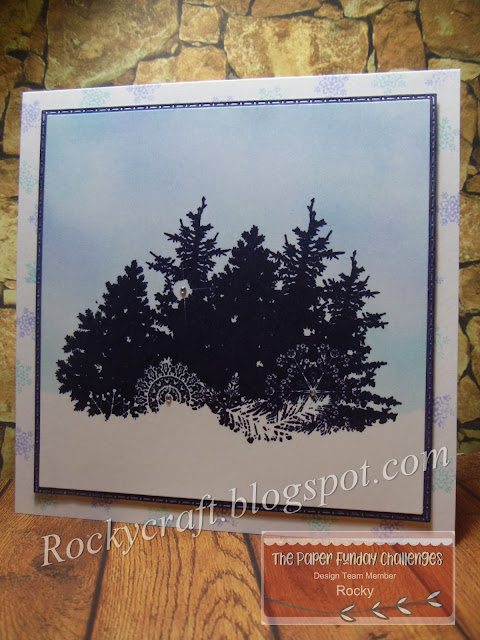
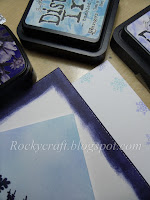
     It started as an A5 piece of white card, using a torn edge piece of paper as a mask I coloured the top two thirds with pale Distress Inks, Broken China and Faded Lilac.
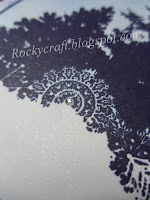
     Working on an A5 piece gave me the advantage of choosing which bit I liked best when it came to placing the stamp. The image was stamped in Versafine Claire Medieval Blue, it's a really dark blue that looks almost black, a good way to get a dark image that's not too harsh. 
     Using a square die I cut the image panel out, then cut a white mat layer that was coloured with the Versafine ink so it would match the image. I gave the whole panel a spritz with a pearl mica spray before adding it to the blue mat layer.
     When put on a white card blank it looked a little plain, so I used some tiny finger stamps and added little snowflakes at random all around the edges that would show. The image panel is mounted on thin foam tape to give a tiny bit of lift.
     Once mounted and dry I added some tiny clear gems to the image, two on the snowflakes and one on the glint through the trees.
     Please come and join us at The Paper Funday, it is an anything goes challenge, I have chosen to use the twist but you don't have to.


I would like to enter this card in the following challenges:
Stamping Sensations - Anything Goes, option Add A Die
Sparkles Christmas - A Winter's Scene
Taylormade Cards 4 U - Anything goes, option Winter Vibes
Friendship - Winter Is Here
Pearly Sparkles - #69 January Blues


Friday, 31 December 2021

Happy New Year


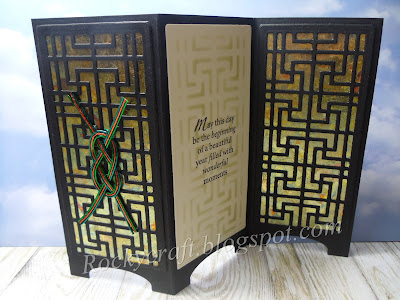
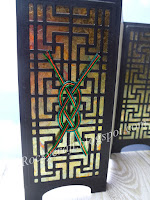
     Another card made with a die from John Next Door's new Art Deco collection, Kramer. The sentiment on this one makes it perfect to use in wishing you all a Happy Crafting New Year, let's hope we can return to workshops and shows soon.
     Using thick black card I cut the screen using John's latest Lantern die, I think it makes a great screen card because the feet just look right for it.
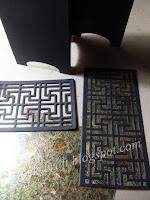
     With the Kramer die I cut two panels in the same black card and trimmed them down to fit the screen panels.
     To back these patterned panels I used a piece of thin card that had been covered with a d/s sticky sheet and then covered with guilding flakes. I've had these flakes for years, they're gorgeous but I can't 'save' everything.....it's time to use them.

    
     For the centre panel I wanted to add my sentiment but plain cream card looked wrong, so out came the Distress Ink and a blending brush. Using the die as a stencil I coloured the cream card with the same pattern as the panels but left it pale enough to see the stamping.
     I cut the cream card panel to be the same size as the others and stuck it on the screen card.

     The card looked good but not quite right, it was missing a focal point on the front. I searched through all my Mizuhiki cords to find colours that would go with the guilding flakes, stand out, but not too much. Finally settling on a mix of green, teal and copper, which can all be found in the flakes.
     The knots are simple but effective on oriental cards, adding a small touch of authenticity. 
     I hope next year sees us all return to sharing ideas and techniques in person, Happy New Year.


I would like to enter this card in the following challenges:
Creative Creases - #22 Use A Fun Fold
Time Out - #204 New
Modsquad - New.....include something new

Wednesday, 29 December 2021

Art Deco Chinese


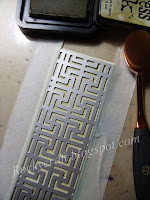
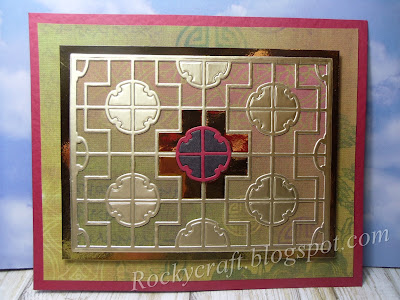
     This is made with a die from the second release of Art Deco dies by John Next Door, Kahn. These dies have a very oriental look to them so that's the way I decided to go with this card.
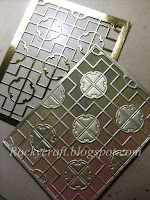
     I cut the die in satin gold card and kept the pieces that popped out. Then I cut it again in gold mirri card but left a wider border around the outside, again I kept the pieces that popped out but used the framework as a mat layer on this card.
     I used a piece of oriental patterned paper to back the satin grid, mounted this on the mirri grid, then paper pieced some of the popped out bits into the gaps. The small red and black centre piece was cut and added on top to give a splash of colour.
     Another piece of the same backing paper was added to a dark red card, then the grid layer was mounted on foam to finish off.
     A simple but effective card suitable for either man or woman, a greeting could be added at a later date when required.


I would like to enter this card in the following challenges:
Lemon Shortbread - #161 Anything Goes
International Art & Soul - #123 Dies or Punches
Happy Little Stampers - Anything Goes With Dies

Friday, 24 December 2021

Merry Christmas


     I would like to wish you all a very Merry Christmas and a much Happier New Year. I am certainly hoping that 2022 is less challenging than this year has been.
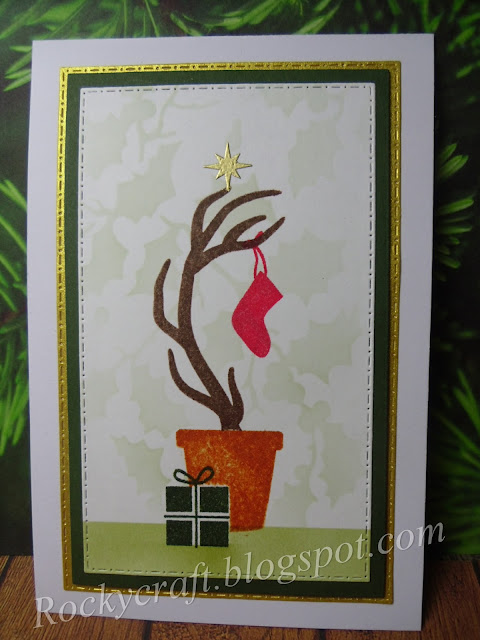
     This simple little card was made using John Next Door's finger stamps, along with the antler set. The gift was stamped first, then masked before the flower pot was stamped, this was also masked before the next step.
     Using one antler stamp and brown ink I stamped the bare tree, then with a holly stencil and a pale green ink I made the background and the ground . Removing the masks and adding the stocking came next with a small gold embossed star on top.
     The mats and layers were die cut with a mixture of stitch dot and plain rectangles and mounted on a white card blank. A fun card that's nice and flat for posting.
      
Have a happy crafting holiday and see you all next year.